Sizing the electrical installation for our König KHC303630 Trailer

On our seemingly never-ending quest to the perfect “mobile home” and its electrical setup.

Once, someone told me the perfect vehicle for a mobile home would be a tri-fold:

  1. a 20m truck when stationary;
  2. a Unimog when off-road;
  3. and a Porsche when on roads.

As it seems hard to get hands on such a vehicle we have tried different combinations over the years – with a few “failed” attempts such as our VW California T6 or the Hymer B-MC I WhiteLine.

So, recently we took a different tac and went for a trailer. A “König KHC303630” to be precise; which is a 2m high, 2m wide, 3.66m long sandwich cabin on a twin-axle trailer (with an overall length of under 5m). The idea was to have something more comfortable and spacious than our Hilux with the roof-top tent. If you want to get an impression of how this looks have a look at one of these videos.

Before we actually made the decision to purchase the trailer, we went to Trochtelfingen to see for ourselves. It was then when we decided to have the main battery system voltage different from the 12V standard.

Originally, I thought to have a 16s 48V system with Eve 3.2V 280Ah cells. However, the resulting weight would be over 80kg – without BMS, case or inverter. So, I thought about installing an 8s 24V system with a resulting nominal power of 7168W. And it seemed that such a system would still satisfy our requirements.

  1. The mximum single load would be 2000W for a duration of up to 35min.
  2. The sum of all 12V loads would not exceed 360W.
  3. The total load would not exceed 2300W.

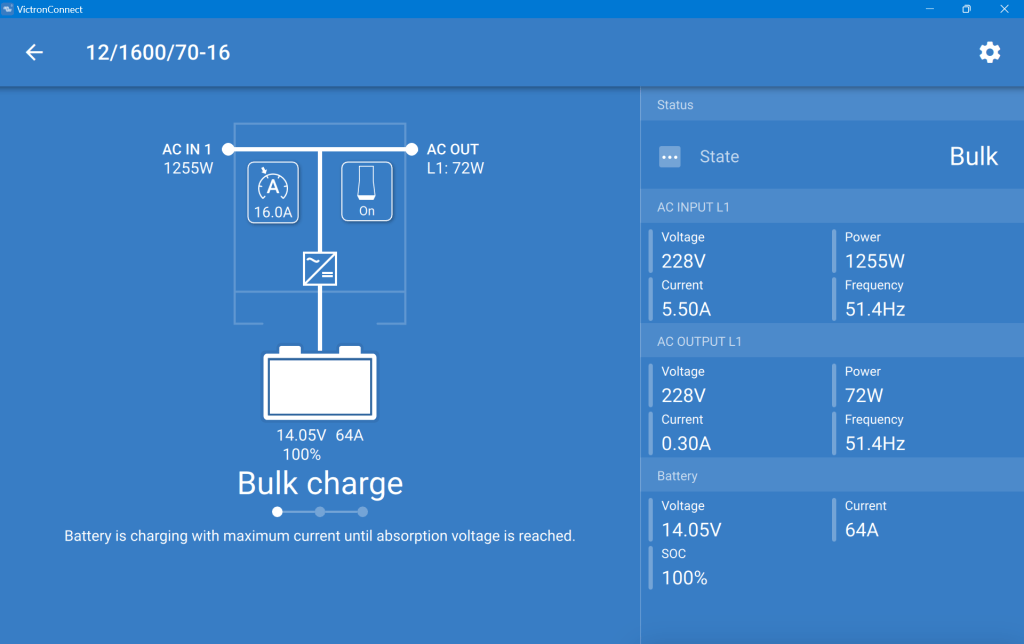
The Eve cells support 0.5C, meaning I could constantly draw up to 2800W (at 2.5V) and 4088W (at 3.65V) at 140A. However, as my largest DC MCB is only rated for 125A I could only use between 2500W and 2650W. But that would be still more than sufficient. And the Victron EasySolar-II GX 24/3000/70-32, the inverter which I had in mind for this installation, supports sustained loads only up to 2400W anyway.

So first determine, how many 24V connections do we need?

  1. 8s 24V battery, via SmartShunt 500A (in/out)
  2. inverter/charger (in/out, interally fused)
  3. 24V/12V DC-DC converter (out, interally fused)
  4. 12V/24V DC-DC converter charger (in)
  5. 2* 24V USB-C sockets (out, interally fused)

With 125A as the maximum expected current the use of the Victron Lynx Distributor bus bar seemed a bit oversized. So, I decided to use a pair of (way cheaper) 6P 150A Victron Busbars.

For the 12V system, I expect to use a 12 port Plus/Minus distribution:

  1. Refridgerator
  2. Bed
  3. 5* lights
  4. 12V socket for shower
  5. 4* 12V sockets

To convert the battery voltage to 12V, I opted for a Victron isolated Orion-Tr 24/12-30 converter. The whole 24V/12V converter will be able to be by-passed and directly connected to the 12V of the trailer, as well.

For minimum chargin on the road, I plan for a Victron Buck-Boost DC-DC Converter 50A. But as this would take more than 6 hours of driving to fully charge, the idea is to mainly charge via AC. However, the EasySolar can only charge with up to 70A. And in order to get closer to the maximum of 125A, I would add a Skylla-24/50 TG . Why I chose the Skylla-TG over the Skylla-I? I only need it for sporadic AC charging and the TG model is lighter and cheaper.

So, with the EasySolar and the Skylla the total amount of charge current adds up to 70A + 50A = 120A, which totals in a theoretic 3072W (just over 13A at 230V). So, any standard 16A cable would do to charge the battery.

A quick overview of the AC connections/RCDs in the trailer (all sockets will be Neutrik powerCON TRUE1 TOP NAC3FPX-TOP):

  1. Inverter/charger (out)
  2. Bath Immersion Heater
  3. Kitchen Microwave
  4. Kitchen Coffee Machine
  5. Kitchen Kettle
  6. Kitchen Stove/Oven
  7. Kitchen Spare
  8. Entrance AC-DC USB-C Charger
  9. Entrance Spare
  10. Back Left Spare1
  11. Back Left Spare2
  12. Back Right Spare1
  13. Back Right Spare2

For external AC input, I plan for a Neutrik powerCON TRUE1 TOP NAC3PX-TOP input with a pass-through and a separate 16A RCD.

Anything that I forgot? We will find out, once the trailer is delivered and we begin with the installation.

30 Days into using the Victron MultiPlus 12/1600/70-16 inverter and a Liontron 12V 80Ah with our Swift Sprite Caravan

The Caravan we got last year did not come with an inverter, so getting coffee in the morning or running a microwave was only possible when our main generator was running. And the installed battery for 12V support had a rather small capacity. This was clear to us from the beginning, as we eventually wanted to connect the Caravan to our EVE 280Ah cells.

But since we got our Starlink internet and our router did not seem to run easily on DC power, we needed -in addition to the temporary morning AC coffee spike – a more permanent AC solution.

So, I grabbed an existing Liontron 12V 80Ah battery that was sitting on the shelf along with a Victron Energy MultiPlus 12/1600/70-16 charger/inverter and connected the inverter AC Output to the CEE16-1 AC input of the caravan and the inverter AC Input to one of the phases of my JCB G20QS generator (of course, all via Neutrik powerCON TRUE1 TOP connectors and H07RN-F3G2.5 cable).

For the connection between the inverter and the battery I used a 35mm2 cable and Klauke DIN 46235 compression cable lugs on one end and insulated ferrules on the other end. In between, I added Anderson SB 175 connectors with 1383 lugs for quick disconnects and crimped as shown here. For the fuse I used a Schneider Electric 125A DC MCB, as I do not expect higher loads in this setup.

Of course, first I updated the firmware of the inverter and configured it work with the battery:

  1. Setting the AC input to 16A
  2. Setting the battery type to LiFePO4
  3. Setting the charge current to 70A (which is over the recommend amount of 50A, but see below for details)

As I did not want to connect a Cerbo GX to the system, I just used the VictronConnect App. Maybe I add a VE.Bus Smart dongle later on, or I connect some GX nevertheless. Who knows … Until now, it needs a wired connection to the inverter to see its status.

After powering on the generator, I confirmed everything was roughly working as expected. During the first run, the SOC was shown as 100% though the BMS of the battery internal saw it differently. In addition, the reported Amps and temperature were seen differently, as well. So, even that I set the inverter over the recommended maximum of 50A for the battery, the actual charge power was never much higher than the actual maximum).

This is what the inverter saw (100% SOC, 14.05V DC cell voltage, charging at 64A):

MultiPlus charging the Liontron battery via the generator

And this is, what the Liontron BMS reported (76% SOC, 13.8V DC cell voltage, charging at 55.5A):

The SOC as seen by the Liontron battery BMS

In the end, the BMS stopped charging when it thought its batteries were full. And the inverter did not complain. However, I noticed that the cells were really not in balance (with a delta of 200mV between the lowest and highest voltage).

Discharging was ok, as well. However, I soon realised that the 100A discharge current could not be achived in my setup. The inverter tried to draw power and the BMS cut off with a “Discharge over-current” (OCD). SO, still no coffee via our Nespresso machine (and no microwave either, for that matter).

So, what is the take away of all this?

  1. It works and now, I can run the Internet all day.
  2. All in all, it is a relatively simple and quick setup.
  3. The Liontron battery does somehow not live up to its specs (and yes, I know the battery could be a size bigger for what I want to achieve; but I did not want to buy an additional battery for this temporary solution).
  4. It is way cheaper and more flexible than to buy this “off the shelf”.
  5. Maybe, I add a Victron SmartShunt to get a more accurate SOC reporting (as I do not see any other way to integrate the BMS with the inverter).
  6. Charging of the battery is quite fast when running the generator.