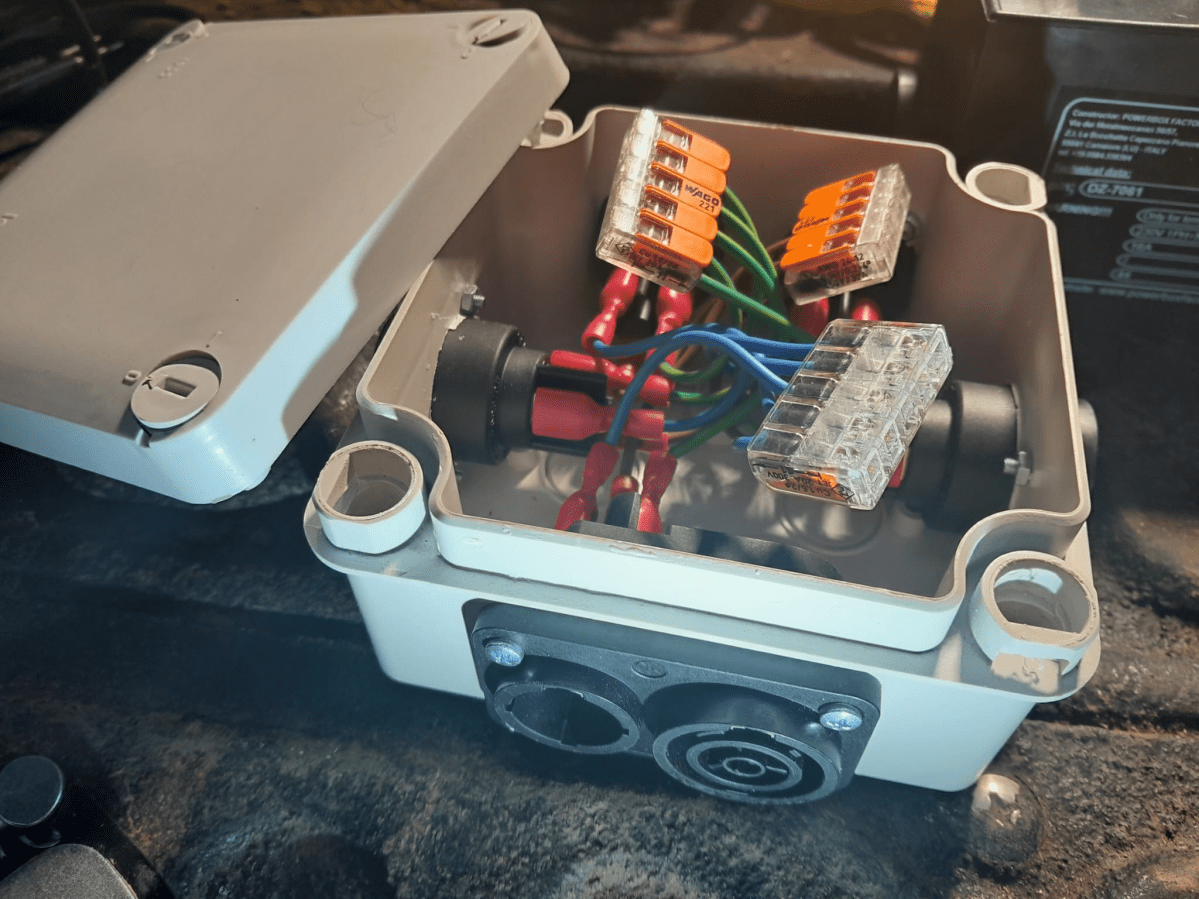
Recently, I bought some additional high beam lights from LazerLamps for our truck. For this I had to create and extend a couple of connectors. TE AMP SuperSeal 1.5 connectors, as it turned out. This article serves as an aide-mémoire to me when I have to use and order these connectors in the future. And it might be of no particular interest to you at all. So, feel free and skip reading …
First, these connectors do not have a typical male/female plug/socket arrangement. Instead, they use
- “male” plug housing with “female” receptable contacts
- “female” cap housing with “male” pins or contacts (called tab contacts)
The SuperSeal 1.5 connector becomes water tight (IP67) by using wire seals that have to be used on every single wire and are crimped to the contacts. So, the contacts have two crimp points:
- Outer crimp
for attaching the wire seal and the insulation of the wire insulation which also serves as a bend protection - Inner crimp
for crimping the uninsulated wire to the contact – and this uninsulated part is rather short: only4mm.
This is suprising as the connectors are still rated for14A.
Note: The wire seals come in different diameters and colours with “yellow” the most common size (especially when buying no-name clones).
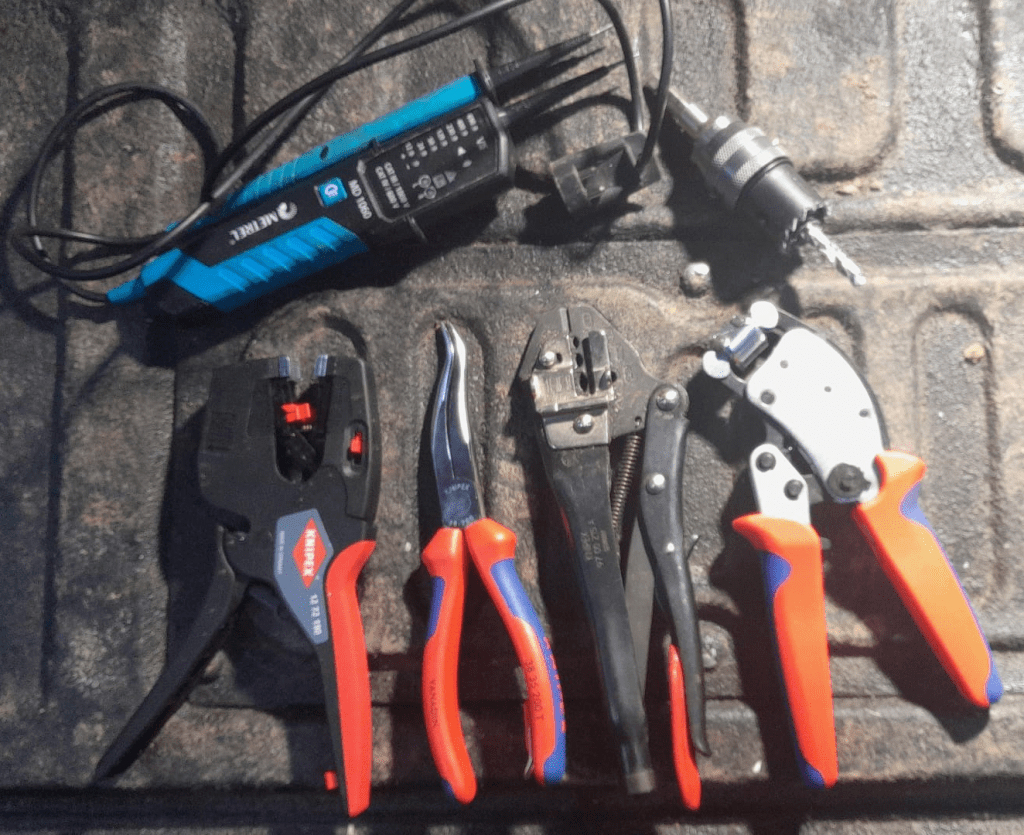
For the correct way of crimping these connectors, I could reuse my existing Knipex Crimp System Plier (97 43 200) and just add the matching crimping dies 97 49 28 along with the wire feed stopper 97 49 28 1. The latter greatly helps to have the right insertion depth when crimping, as one cannot really see anything due to the wire seal attached to the cable.
After crimping the contacts have to be inserted into the housing. And there is only one correct and possible direction which fits. Audible and tactile feedback is given with correct insertion.
Both housings have locks (usually in red) that must be open for insertion and extraction and locked for use. Gettings these locks unlocked is quite tricky and a specialised tool is highly recommended – especially for the cap housing. The same for the actual extraction of the contacts themselves. I found it easy to destroy the contact, housing or screwdriver when not done carefully or properly.
There is a good video (in german) that shows how to use the pliers and assemble the connectors:
Here is a summary of most of the parts along with their contact sizes.
| Cross Section mm2 | Plug Housing w/ Receptable Contacts | Cap Housing w/ Tab Contacts | Wire Seals |
| 0.35 .. 0.50 | 282403-1 | 282404-1 | 281934-4 (1.2 .. 1.6mm) green |
| 0.75 .. 1.50 | 282110-1 | 282109-1 | 281934-2 (1.7 .. 2.4mm) yellow |
| 1.50 .. 2.50 | 282466-1 | 282465-1 | 281934-3 (2.5 .. 3.3mm) red |
| Extraction / Insertion Tools | 9-1579007-1 | 9-1579007-1 | |
| Positions Number of Contacts / Pins | Extraction / Insertion Tools | ||
| 1 | 282079-2 | 282103-1 | 2452133-1 785061-1 |
| 2 | 282080-1 | 282104-1 | 2452133-1 785061-1 |
| 3 | 282087-1 | 282105-1 | 2452133-1 785061-2 |
| 4 | 282088-1 | 282106-1 | 2452133-1 785061-2 |
| 5 | 282089-1 | 282107-1 | 2452133-1 785061-2 |
| 6 | 282090-1 | 282108-1 | 2452133-1 785061-2 |
There are some additional parts that might be of interest as well:
- Rubber boots for housings
2 pin: 880810-1
3 pin: 880811-2 - Cavity Plugs for housings with unused pins
282081-1
Example
A complete 3-pin socket/plug for 1.5mm2 thus consists of the following part numbers:
- 3* receptable contact
282110-1 (or 282466-1) - 3* tab contact
282109-1 (or 282465-1) - 6* wire seals
281934-2 (or 281934-3) - 1* plug housing
282087-1 - 1* cap housing
282105-1 - 2* rubber boot
880811-2 optional - insertion / extraction tools optional, but recommended
(especially for extraction)
9-1579007-1, 2452133-1, 785061-2
Here is a copy of the official data sheet from TE:
Note: I first bought a cheap SuperSeal no-name clone for testing the crimping pliers before I tried with the originals. Saved me quite some money …
So, this is it for today. Hope you find this useful. It surely helped me.