Our PIR Insulation Boards arrived

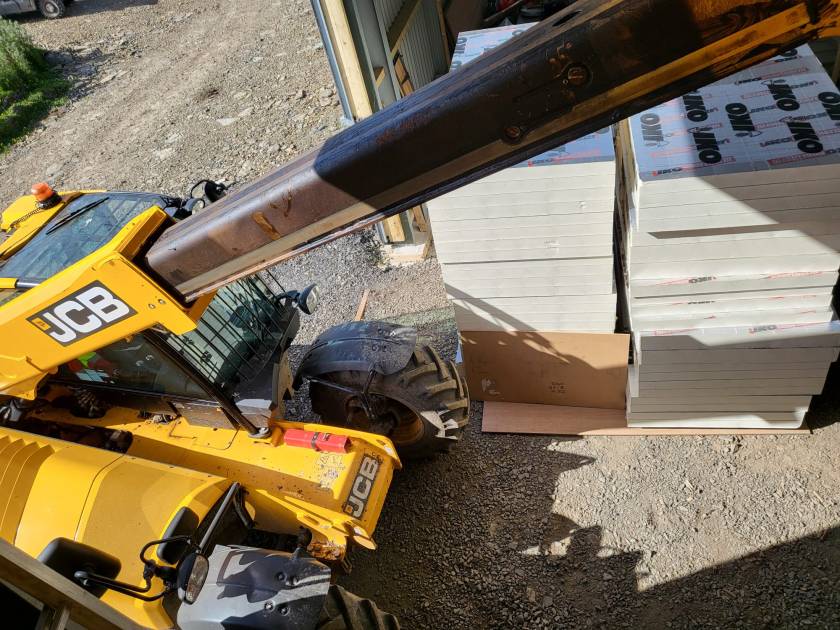
What a day! We got a call from Rembrand asking if they could deliver the PIR boards we ordered a day earlier. Sure they can! We quickly made space and waited fo the truck to deliver.

In my calculation the complete pile of boards would sum up to roughly 8m. Quite a load – especially with today’s wind! The truck actually did a tour just for us …

And then we drove the load over to our plot – all the way from the main road. It took four round trips to get everything (64 * 2400 x 1200 x 90mm, 20 * 2400 x 1200 x 140mm) into the barn.

And then we had to find space to store them …

Our insulation baords all across the barn

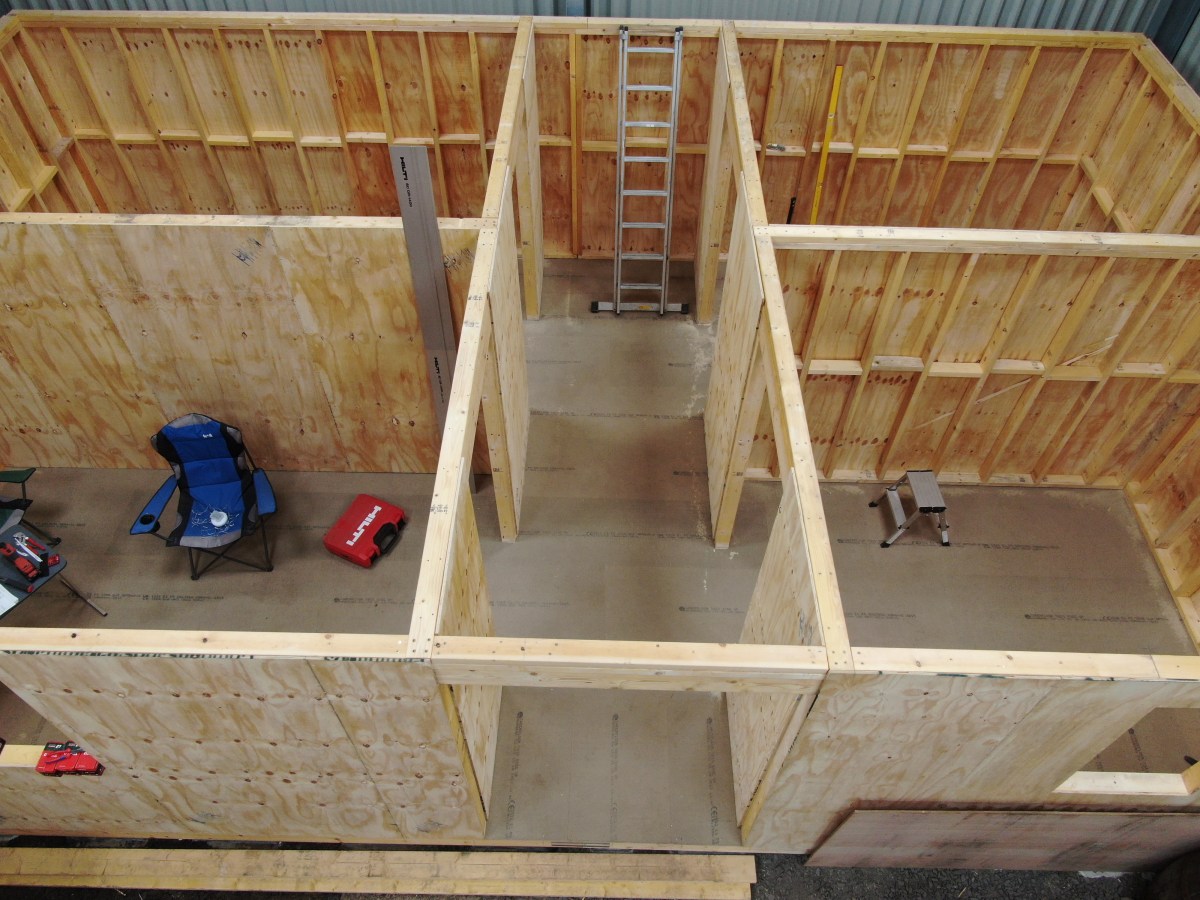
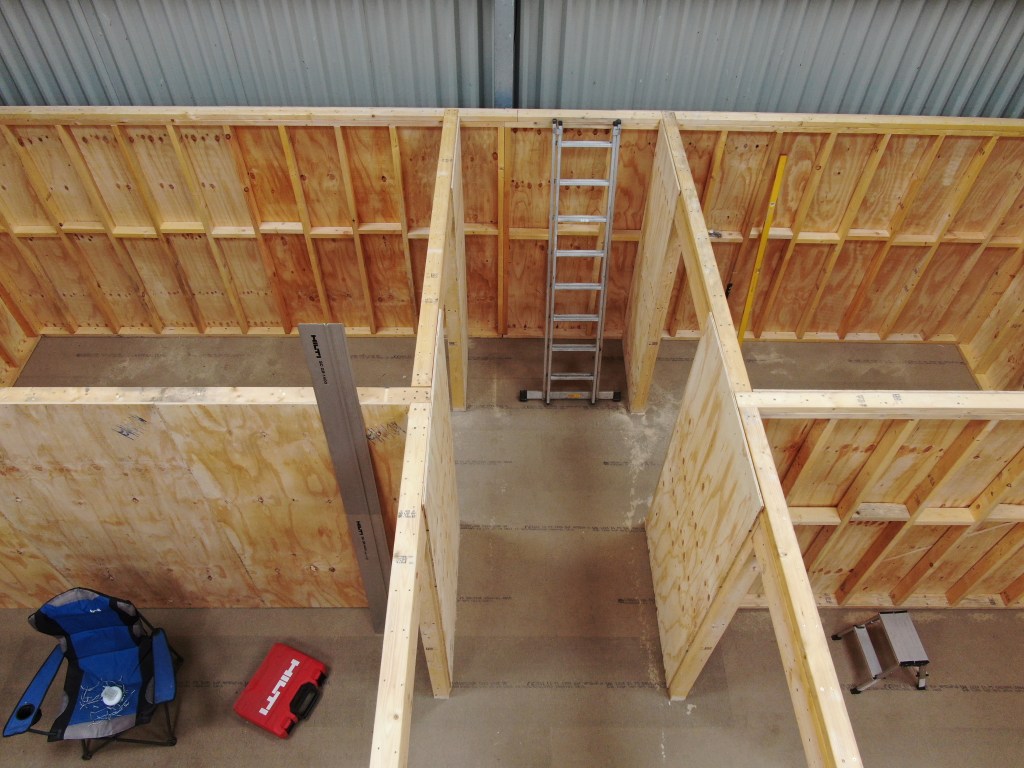
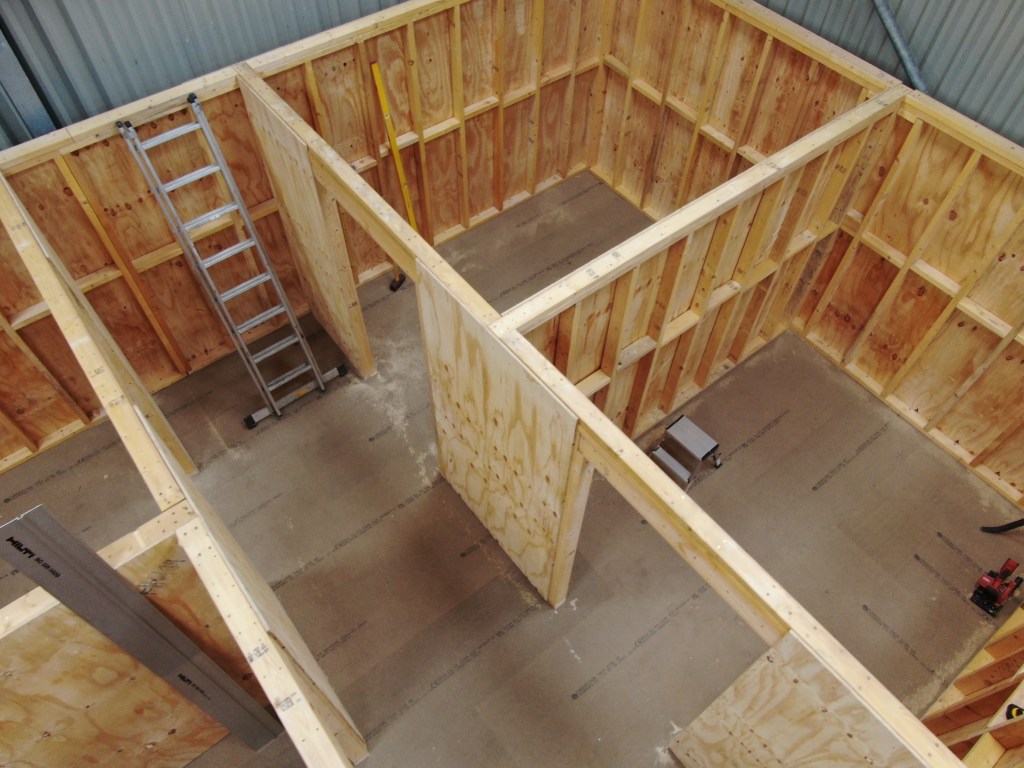
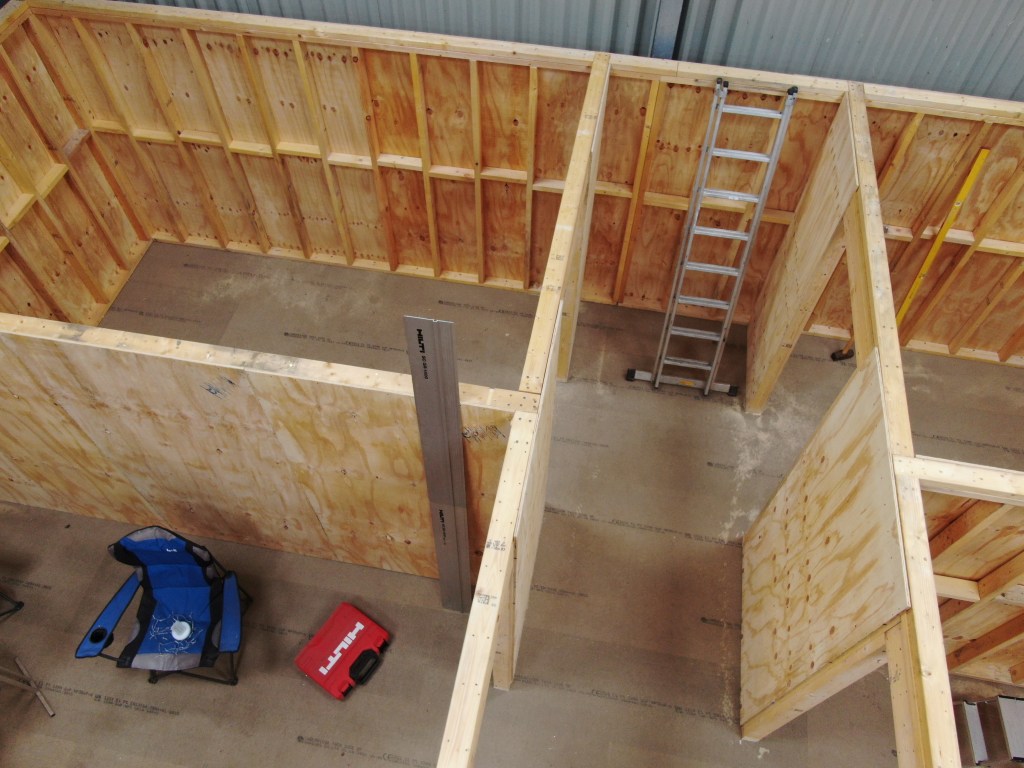
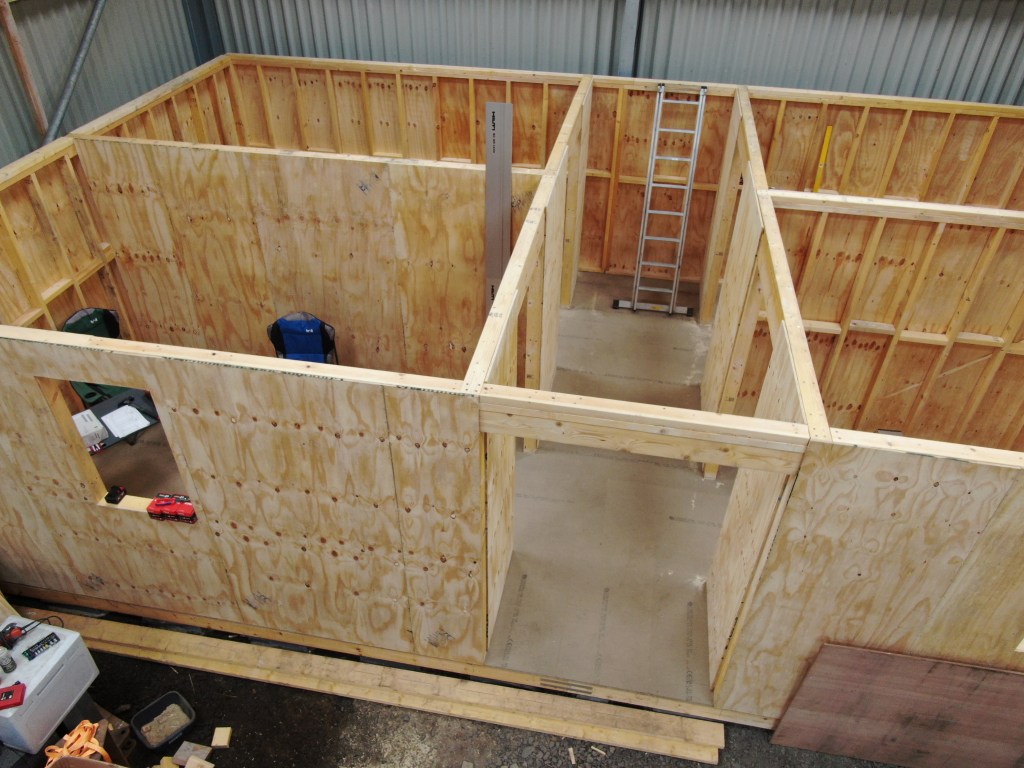
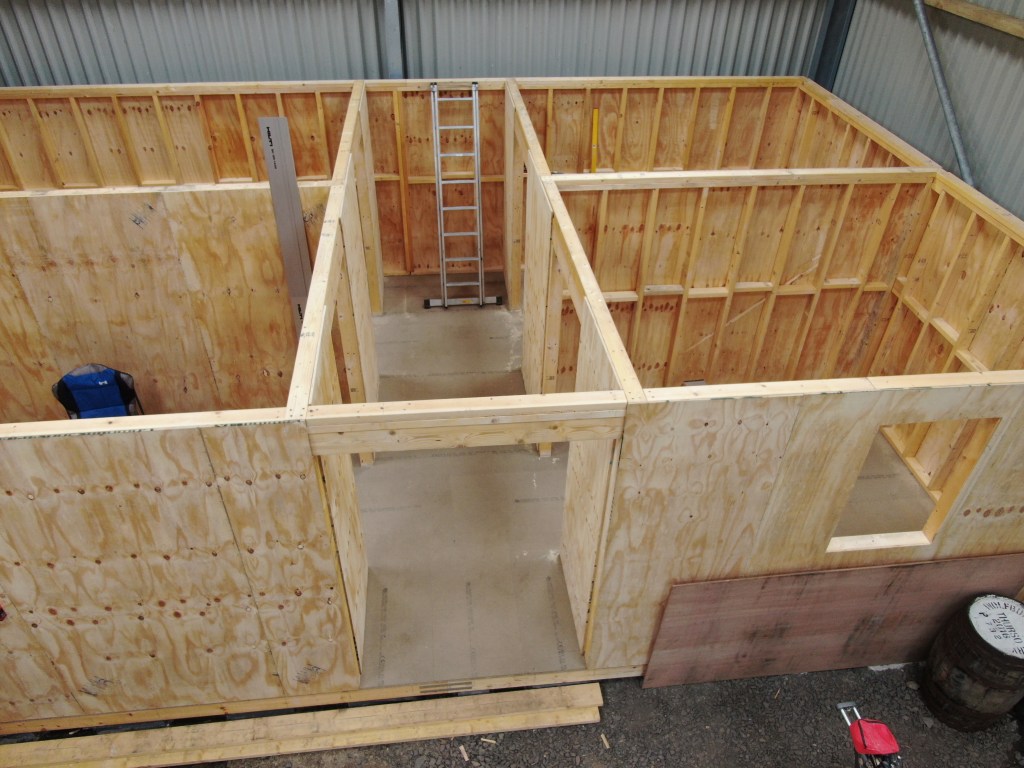
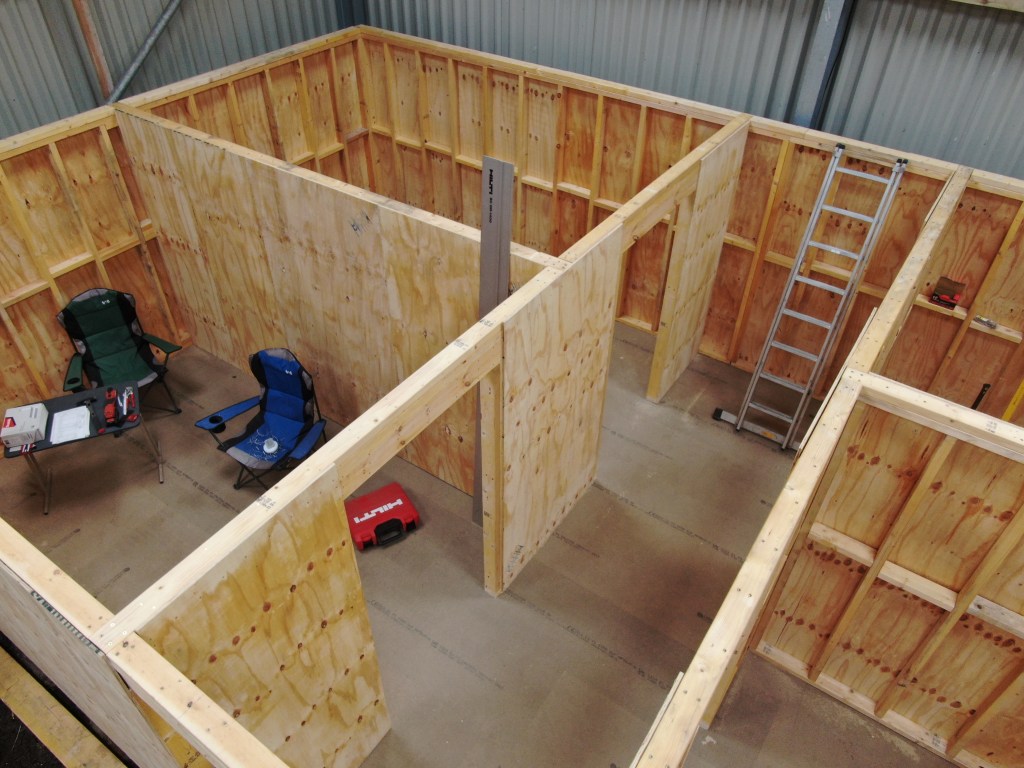
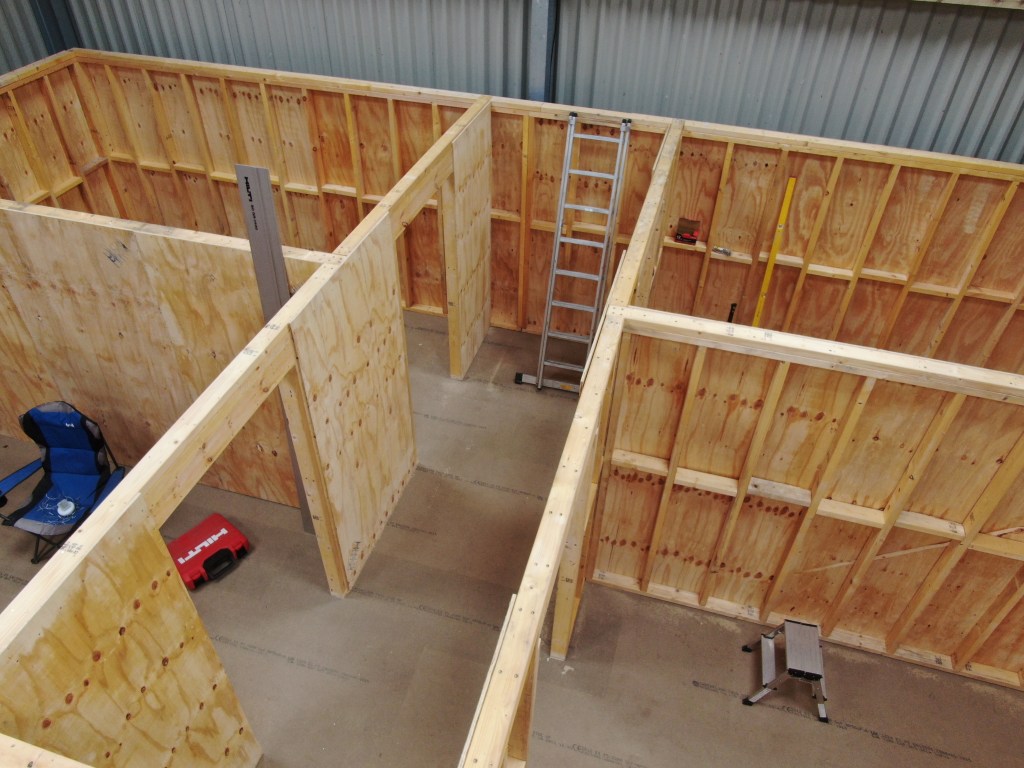
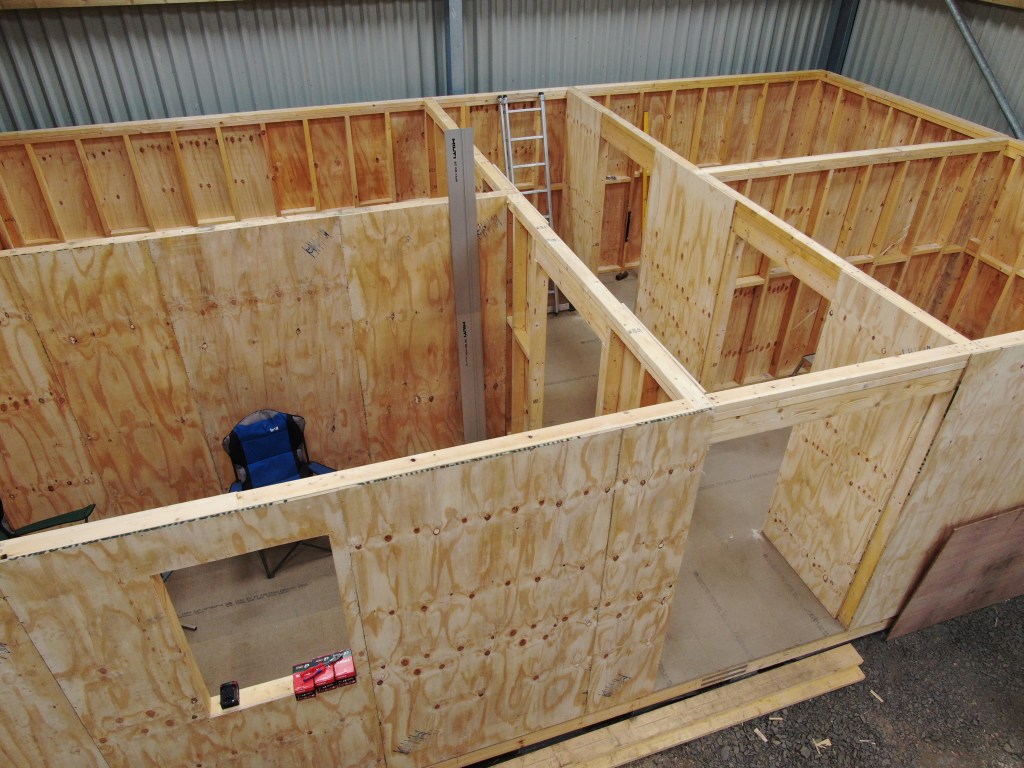
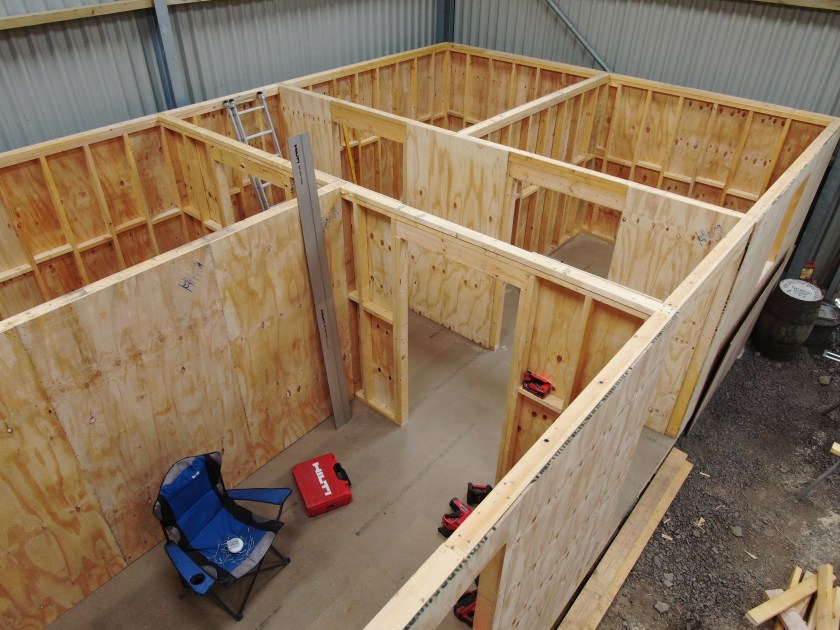
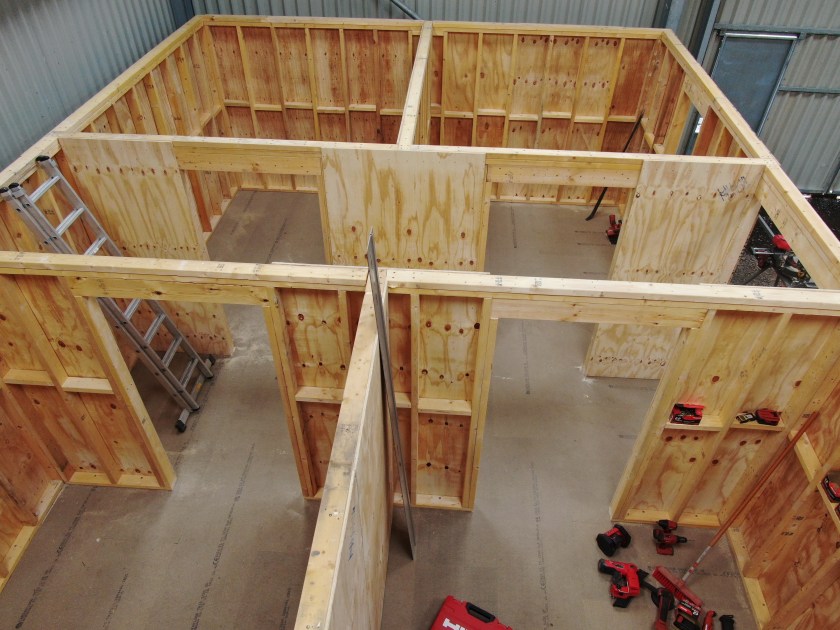
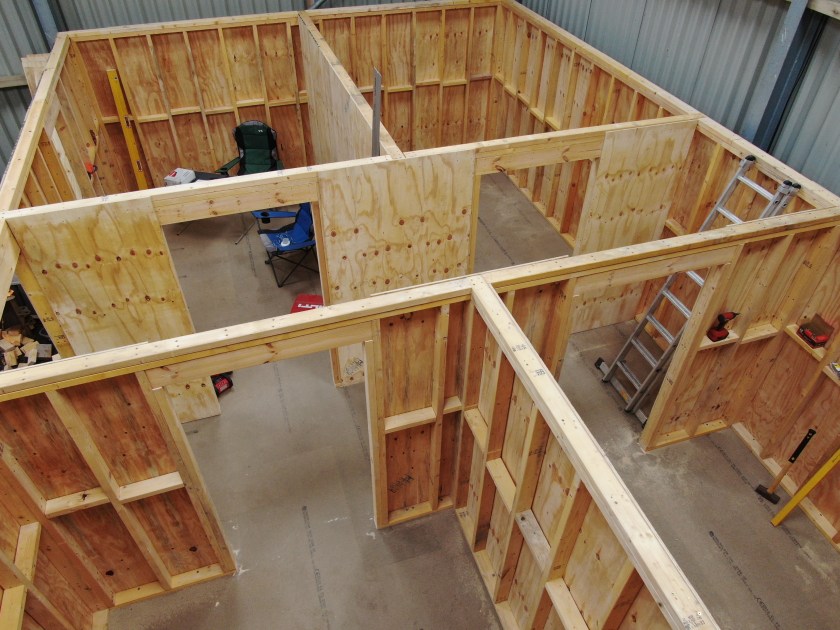
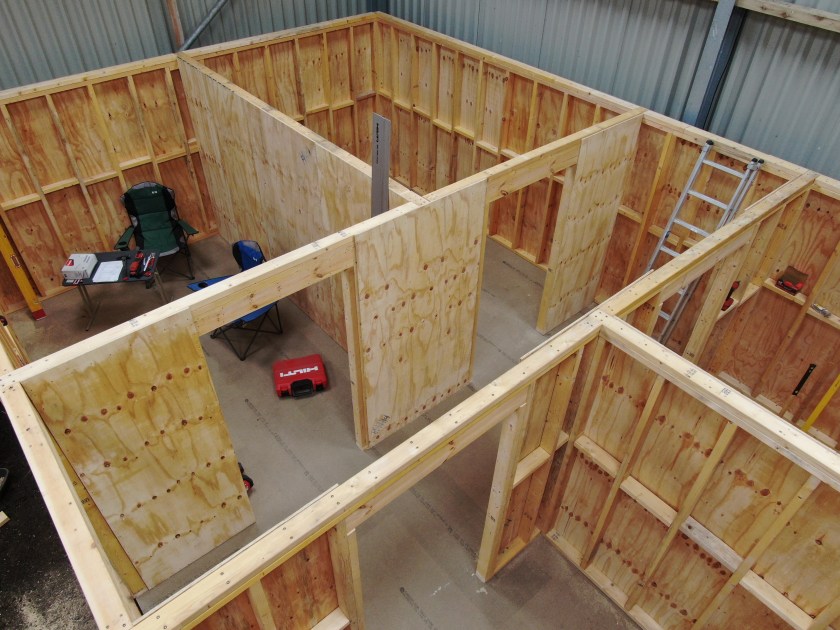
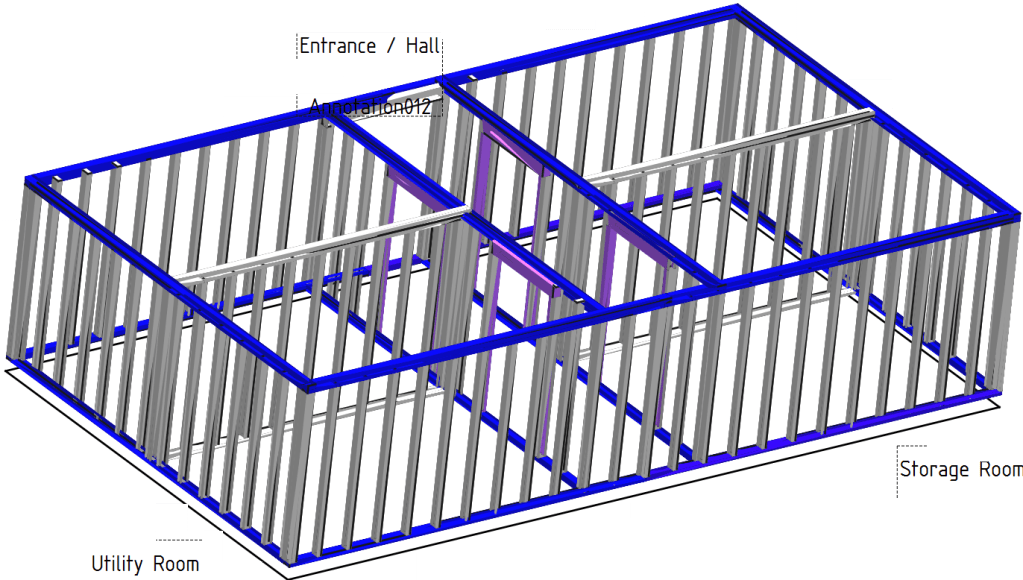
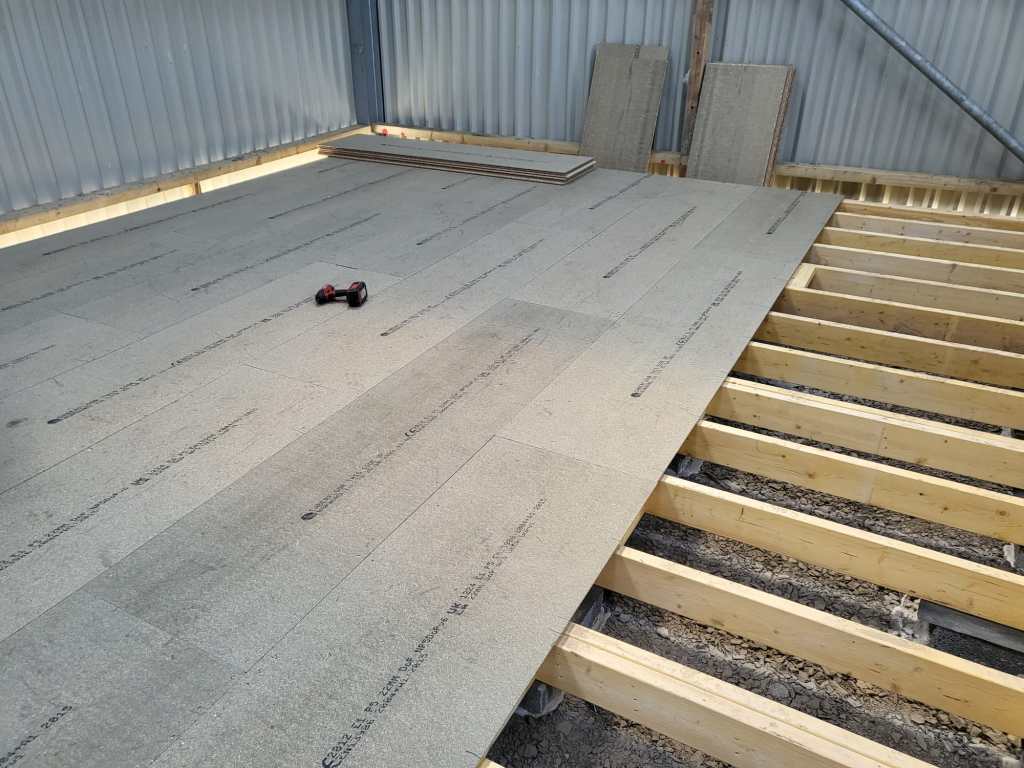
Luckily, we designed the hallway of our tiny-house-in-barn with a 1450mm width and all doors 1080mm wide. Enough space to store some of the boards in one of our just ready-laminated rooms on the first floor. No problem lifting it with the TeleHandler!

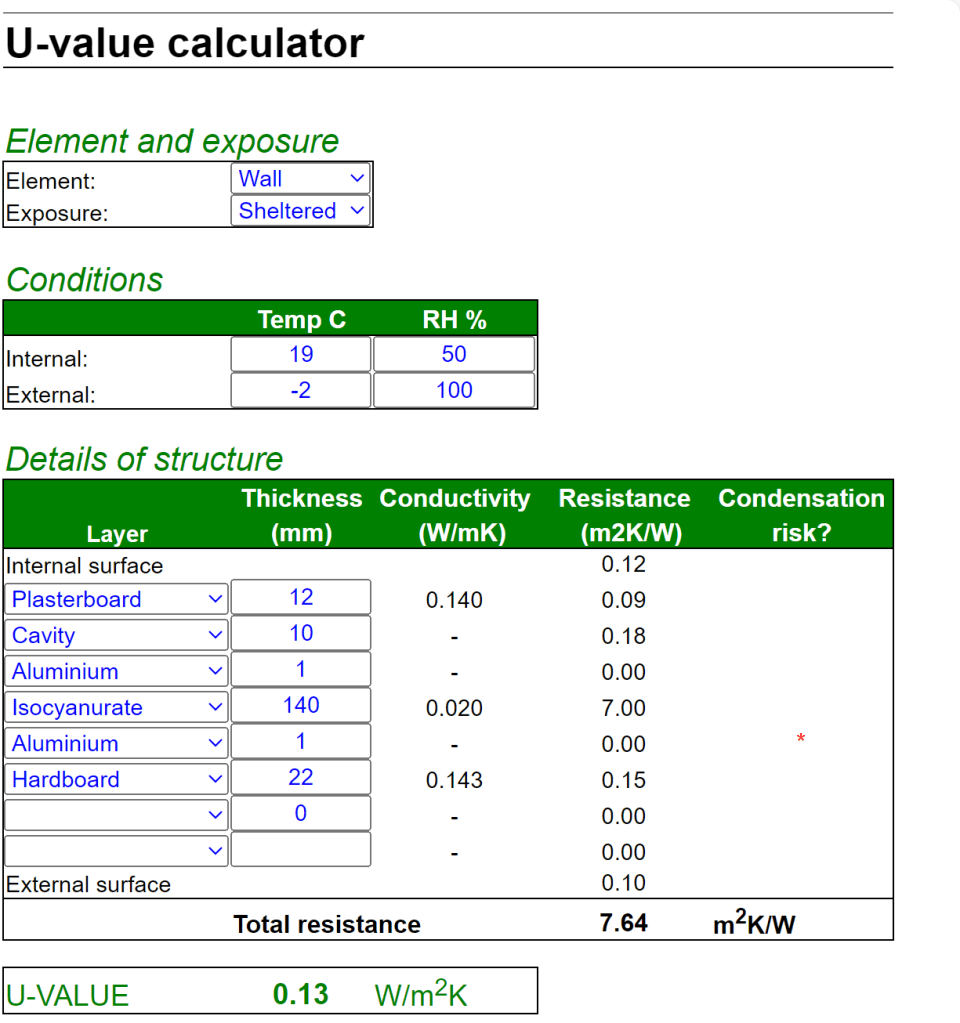
When we ordered from Rembrand the actual manufacturer was not specified. But upon delivery we could see the brand – IKO. According to their web site the thermal conductivity lambda for the material is 0.022 W/mK. For the walls this gives us a U-value of 0.18 W/m2K. Just what the building code asks for …

Calculated U-value for our walls, taken from https://www.vesma.com/tutorial/uvalue01/uvalue01.htm

For the floor things look even better – with thicker boards the calculated U-value fits the requirement of the code as well: 0.13W/m2K. And this does not include our laminate floor and the insulation layer under it.

Calculated U-value for our floor, taken from https://www.vesma.com/tutorial/uvalue01/uvalue01.htm

So, now we just have to choose what to do next. Installing the roof, continue with flooring or start insulating the walls …

Ground Floor completed

With Christmas on the missing doorsteps (pun intended) we now have completed the ground floor of our tiny-house-in-barn. See for yourself …

Here is a complete view of the shed-to-be from different perspectives.

Overview

Ground Floor

First Floor

The Platform is finally done

Last year in December, I started the drawings (with FreeCAD) for our “house-in-house” build: a wooden compartment inside our barn for electricity, water, storage and the like. But somehow, I never started it because of my mental concrete block (pun intended). This changed when a colleague of ours came by and helped me with laying the concrete pads. And from there we did the frame and the floor in less than 2 days – thanks to our Milwaukee Nailer and Larry Haun with his book The very efficient Carpenter.

Of course, there were some gotchas and mistakes needed to be fixed. But all in all it went really well. So well, that in fact we could have our first BBQ on the new platform (and not in the dust as usual).

So, below you find some pictures and drawings of the “house-in-house” and the making of the platform of the ground floor.

Overview of ground floor

Ground floor frame resting on pads
Frame of ground floor
Getting the pads in place
Starting with the frame
Nails – the more, the better
Now only the blocks are missing
Inspection of our work so far
The frame is done
Ground floor with the first tow of OSB sheets
Getting somewhere
Finally, a table not in the dust

We got the “Planning”

Today, we got the planning for our barn. Actually, we received the positive decision for a “prior planning notification” (which is certainly not a Planning Permission), as in Scotland there is no need for full planning permissions when building agricultural sheds.

So, this went really well! And now we can do the next step. That is: ordering the actual building kit which will be delivered from Robinsons Agricultural.

The barn will be a metal construction of 30m x 10m with an eaves height of 5m. We will be starting this week with the foundation and the levelling work.

The building site (to the left hand side of the image)

Can’t wait to post updates on this one …