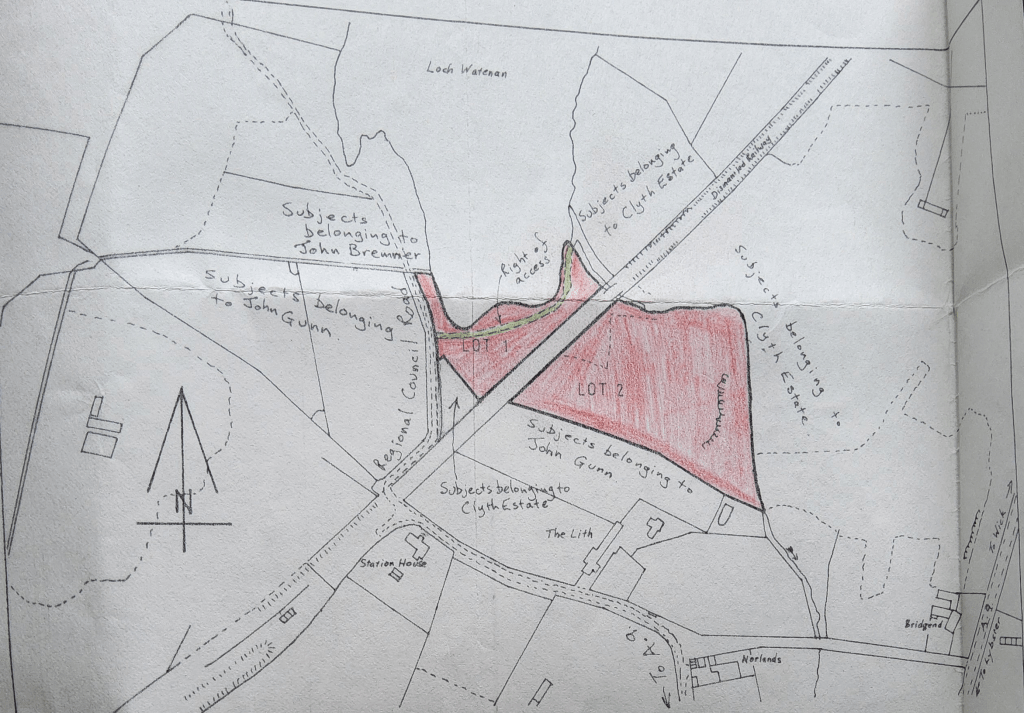
Nearly two years ago, I wrote about trying to get an alternate access to our plot. And yesterday, we finally were able to test it. Not the way we originally envisioned – but doable. The exact path is shown on an old entry in the Sasine Register of Scotland as shown below.
Servitude right of vehicular and pedestrian access
We actually only wanted to move our digger to our neighbour’s site to assist in setting fence strainers but along this exercise we had to take our Mule as well. The Mule just fits the track …
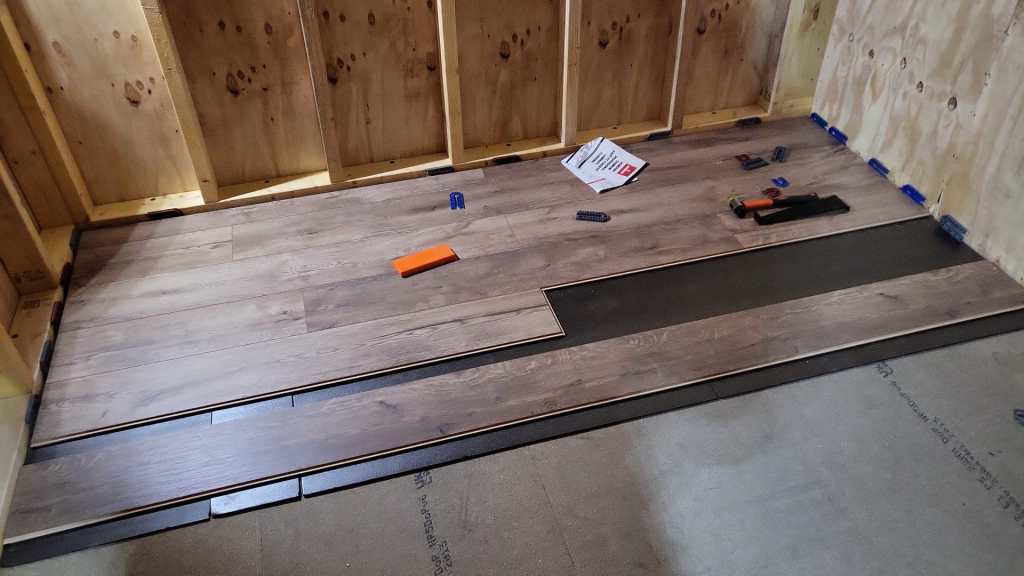
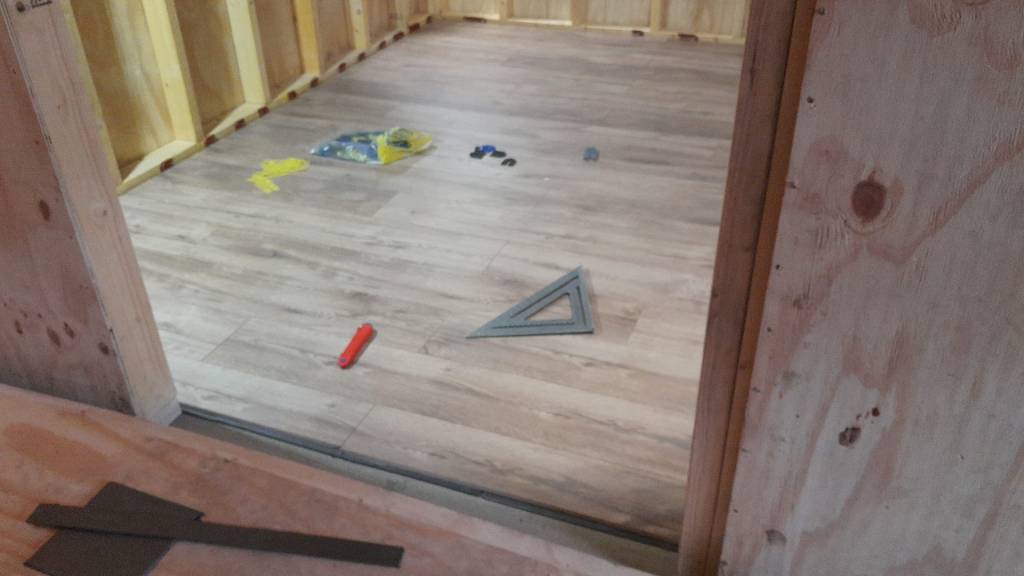
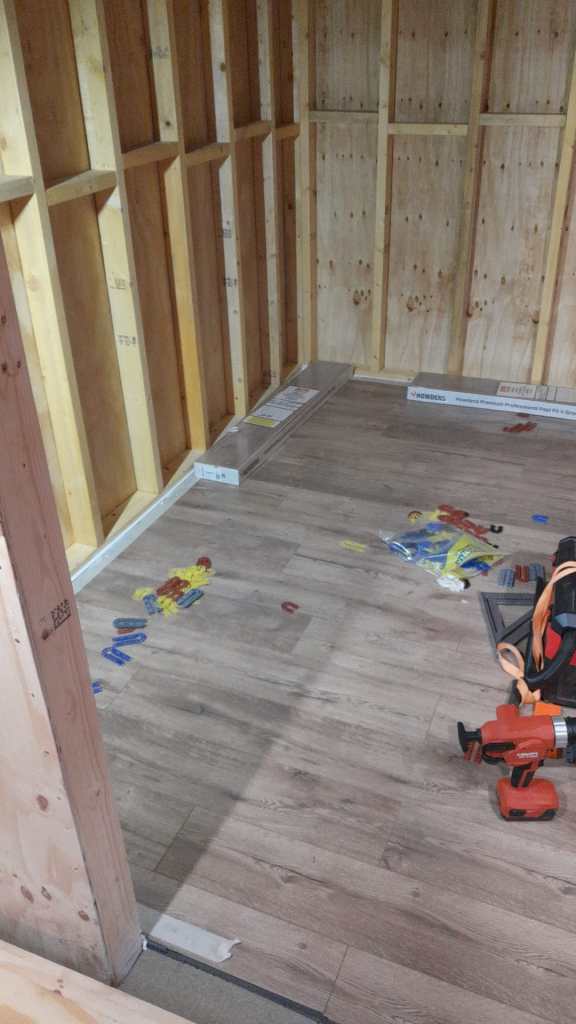
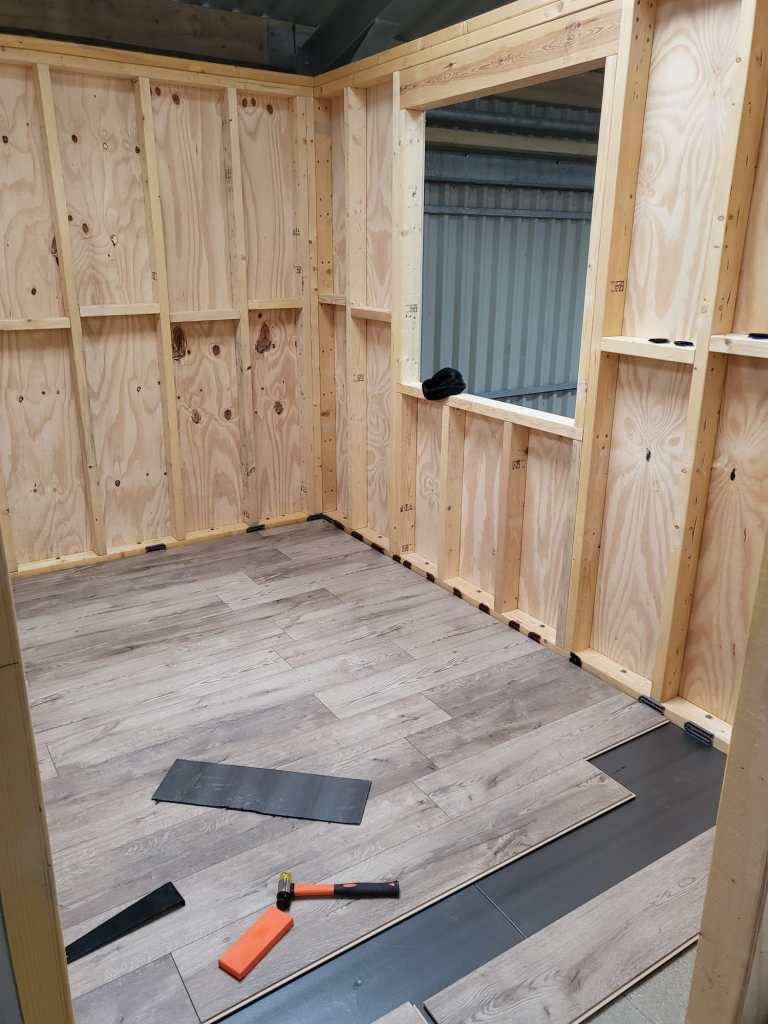
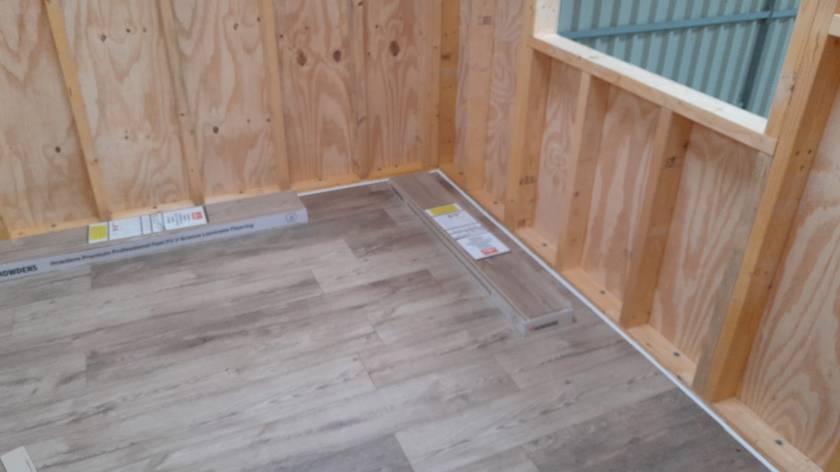
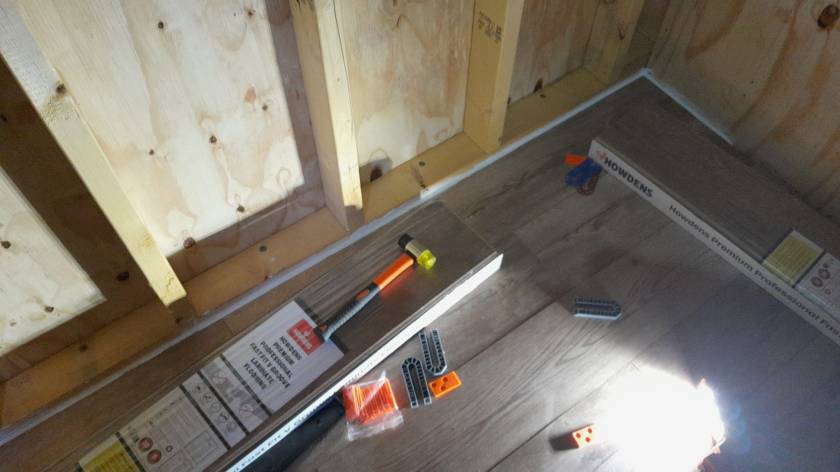
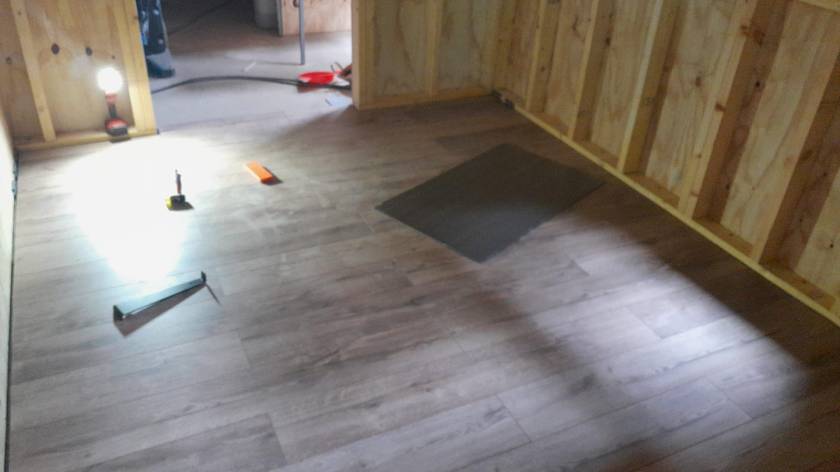
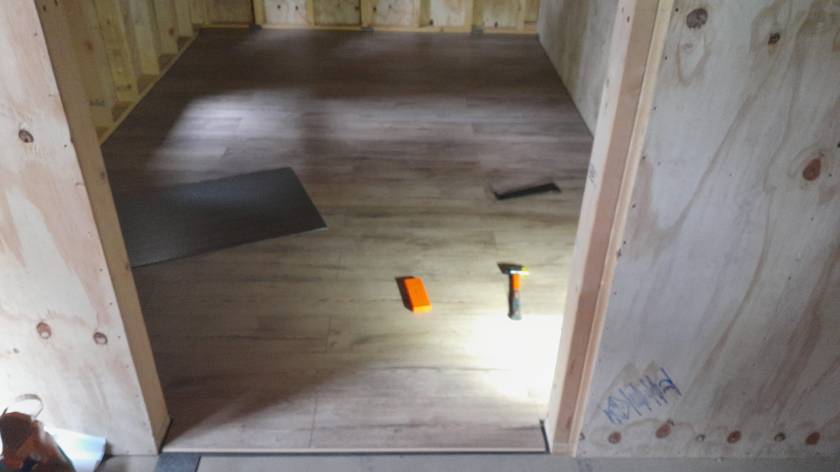
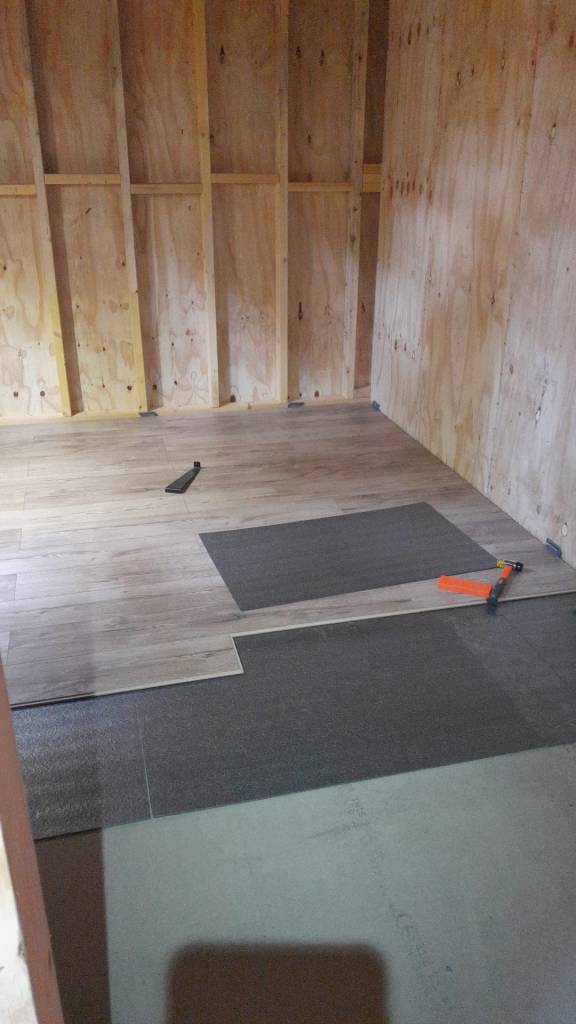
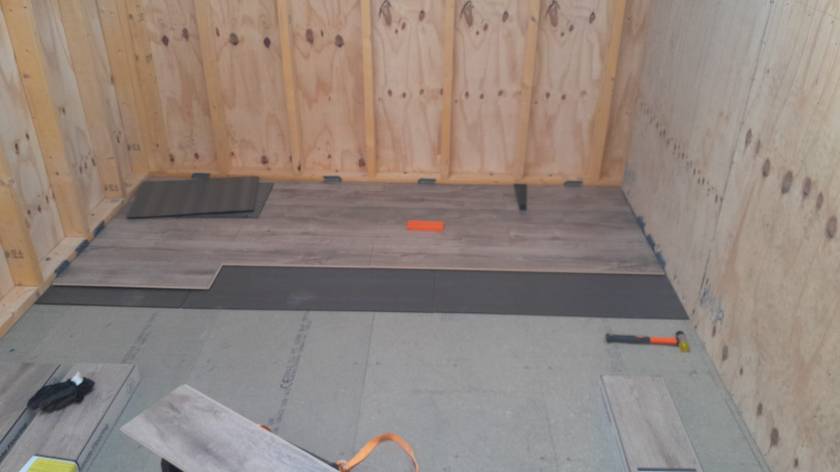
Another update from the flooring department. We started and finished the Storage Room. Now, on the ground floor only the Utility Room and the Hallway are to be done. Getting closer. Meanwhile the future bath room serves as the current storage room.
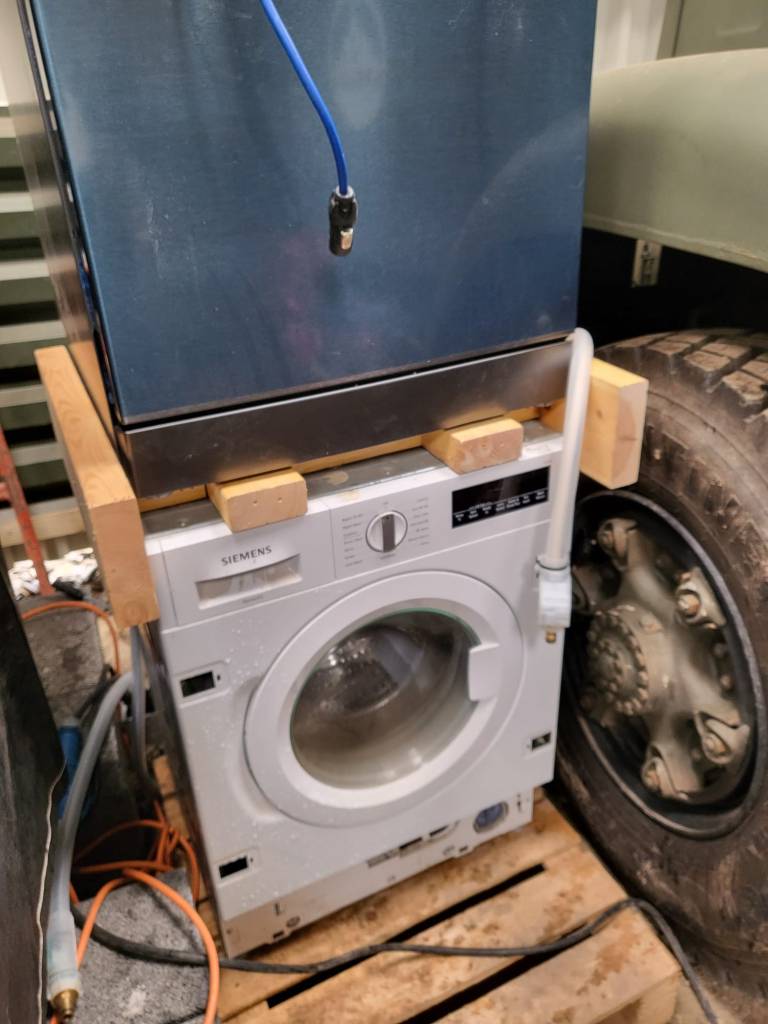
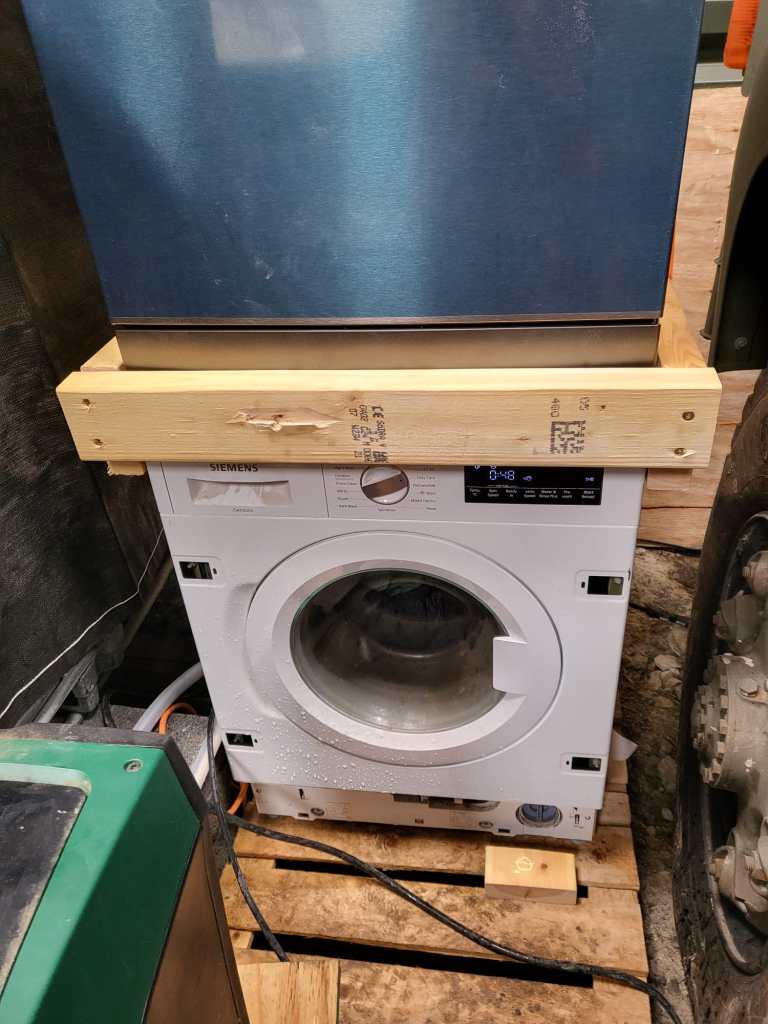
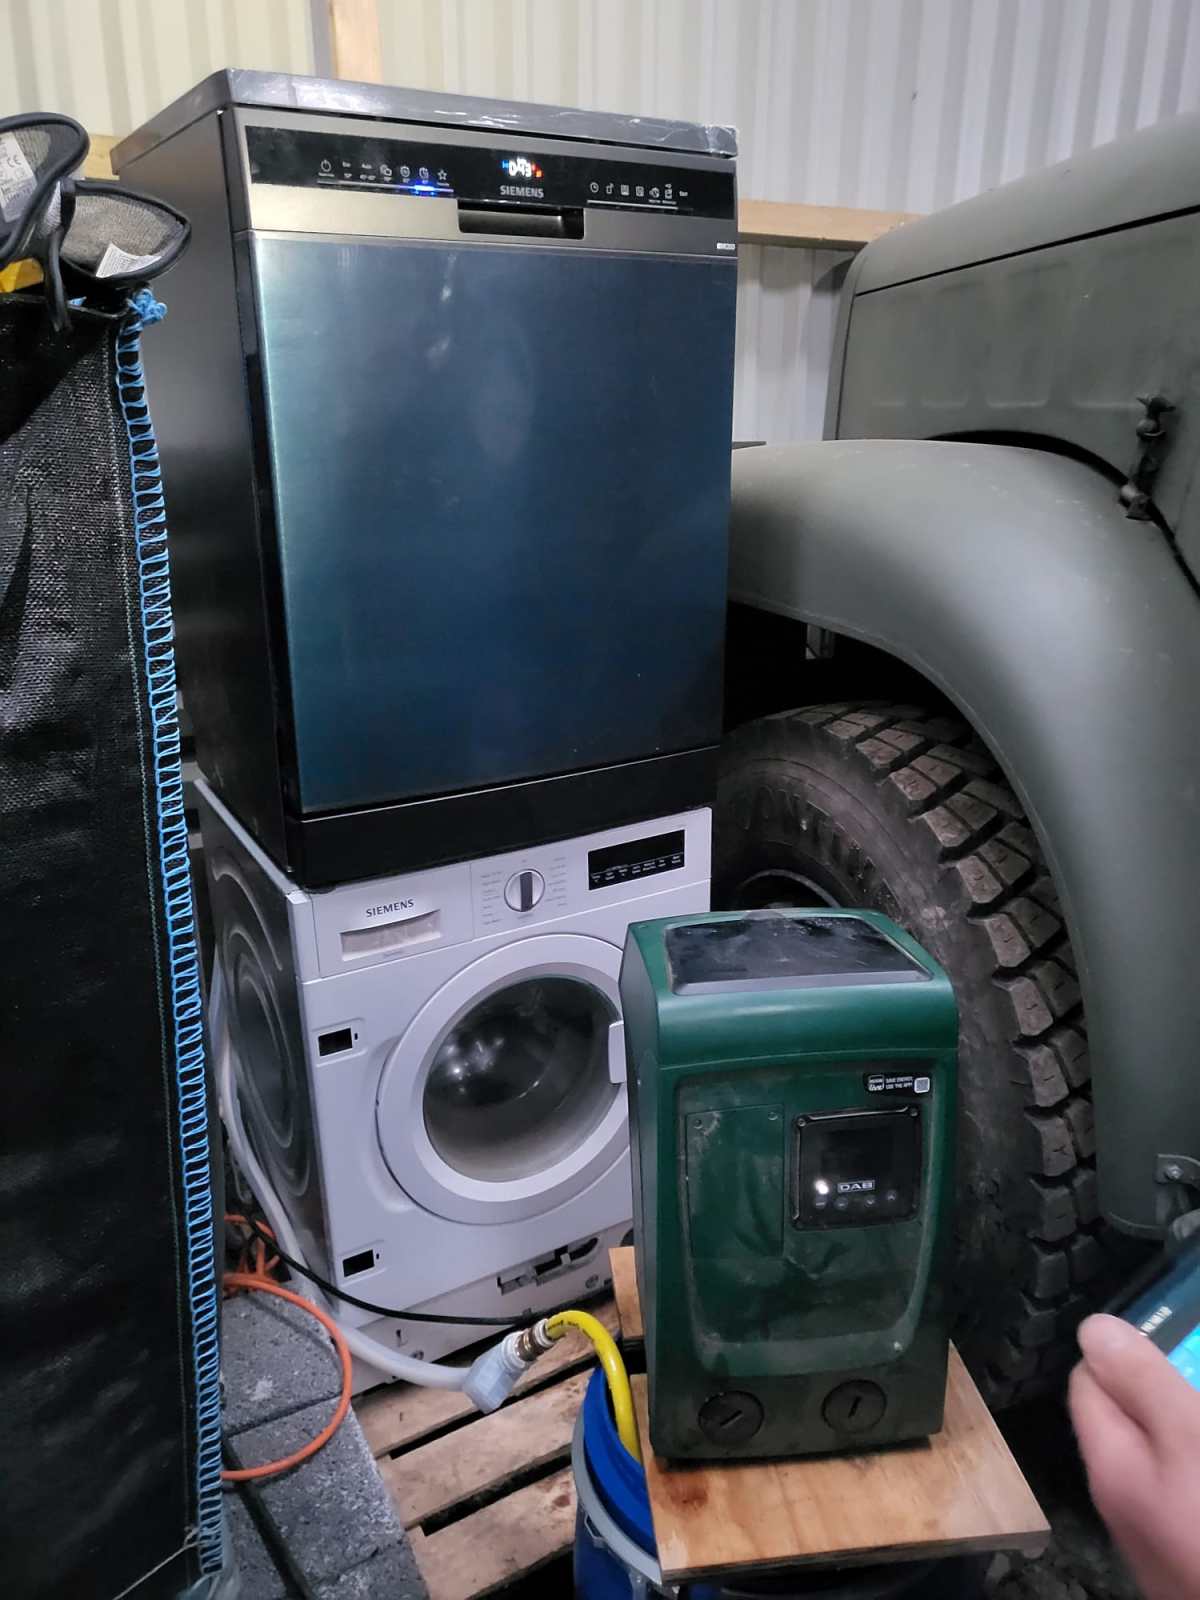
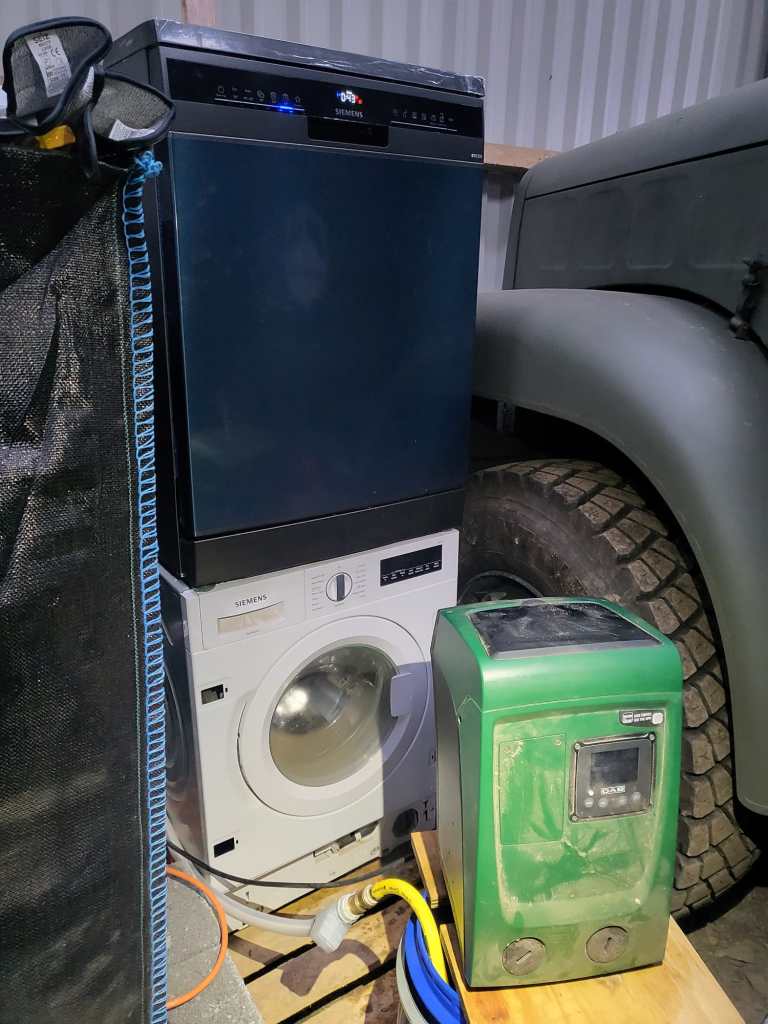
As we wrote previously, we installed a dishwasher – and sat it on top of our washing machine. Currently, the only place where we had space _and_ water in reach …
But operating the washing machine not astonishingly proved very unstable – at least for the dishwasher. So, we decided to create a luxurious frame to sit the dishwasher and hold in place when the washing machine was spinning.
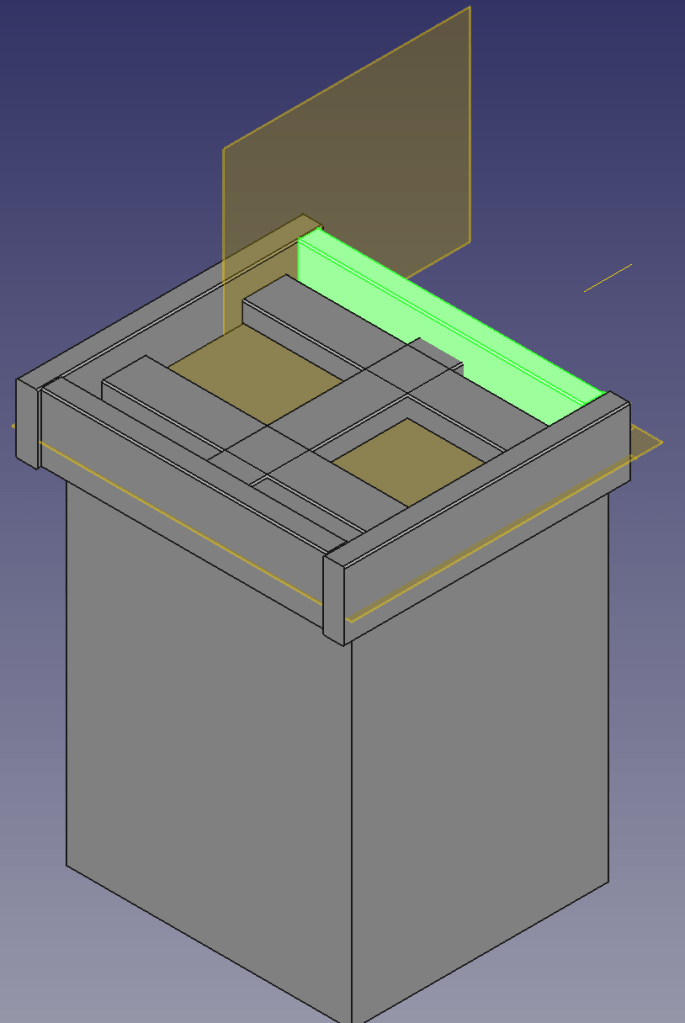
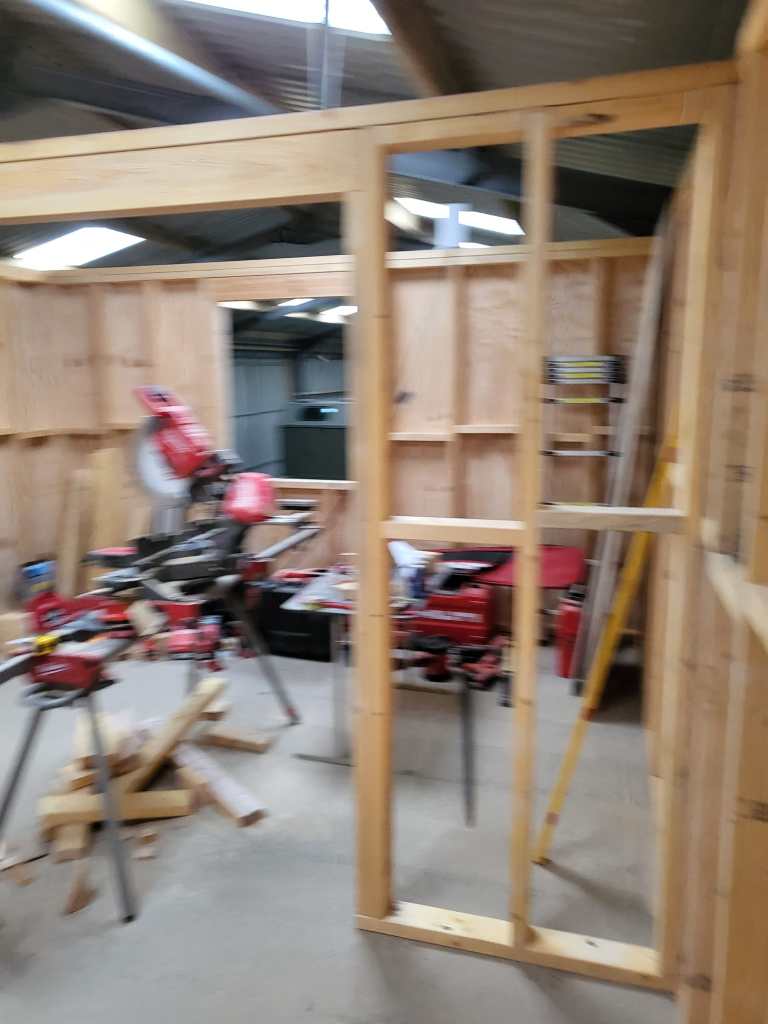
Not being agile but very waterfall, I needed a concept first. So, I fired up my trusted CAD programme and started sketching …
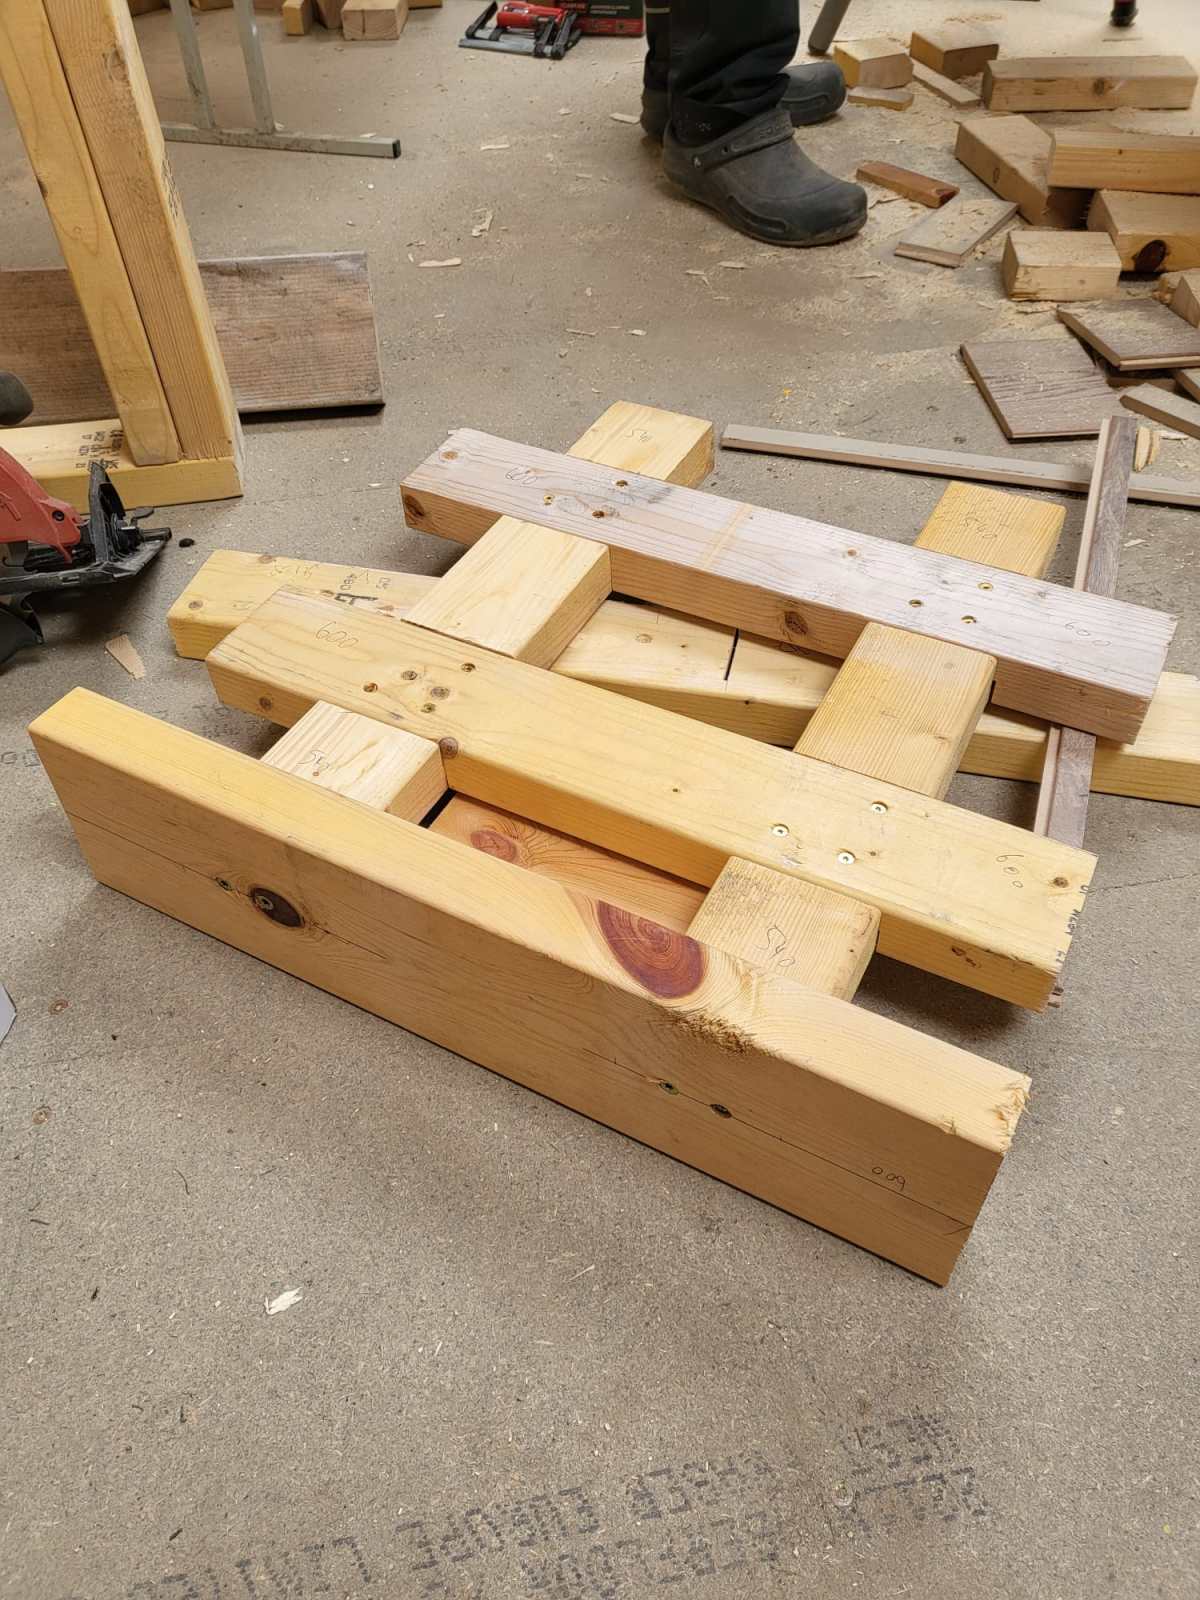
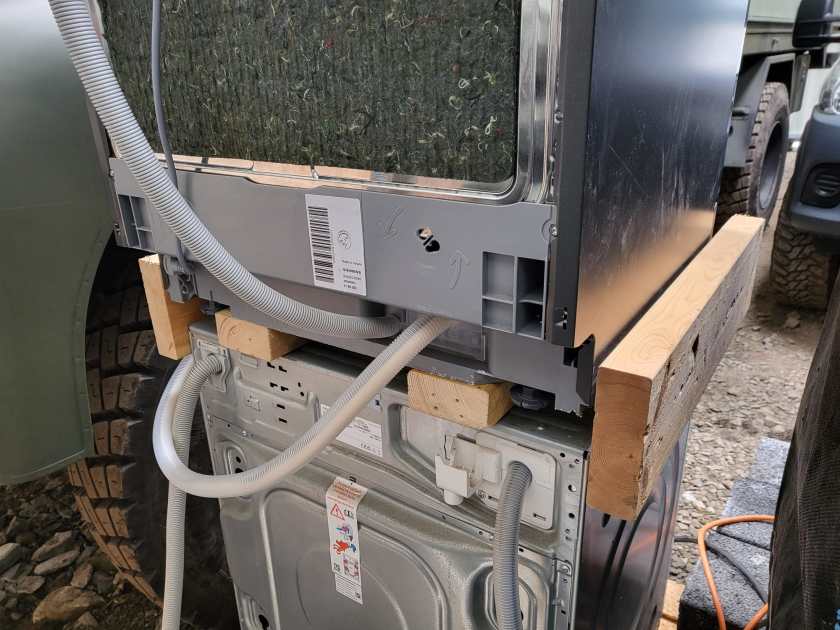
4x2s intersected with other 4x2s surrounded by 6x2s – that was the way to go.
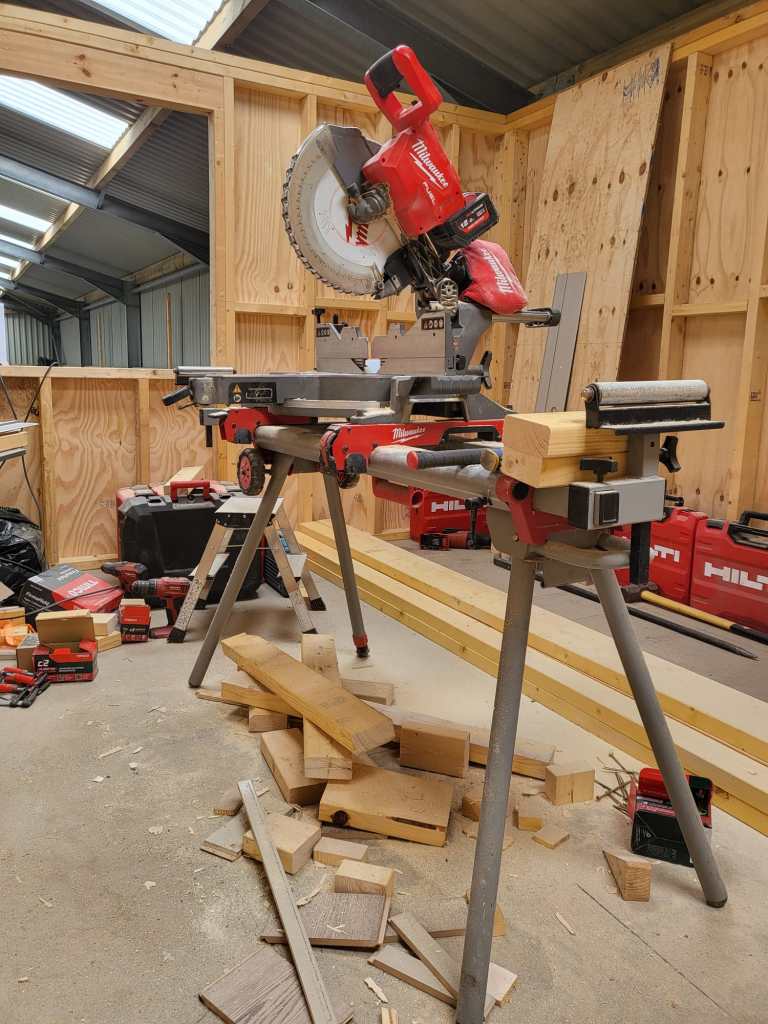
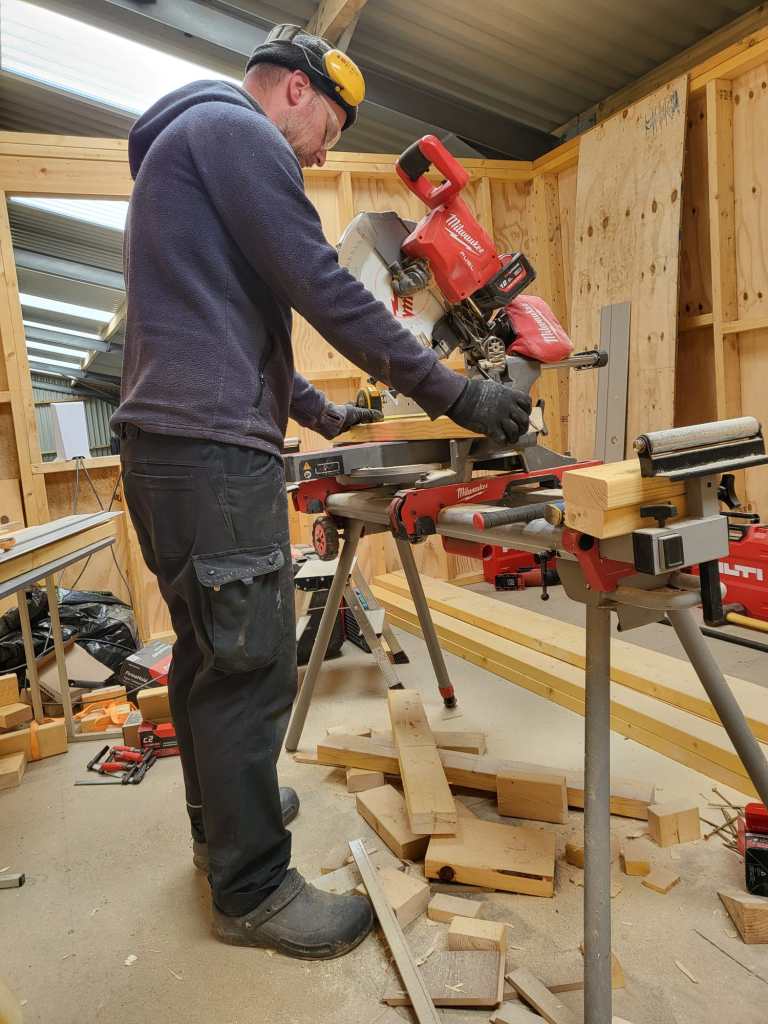
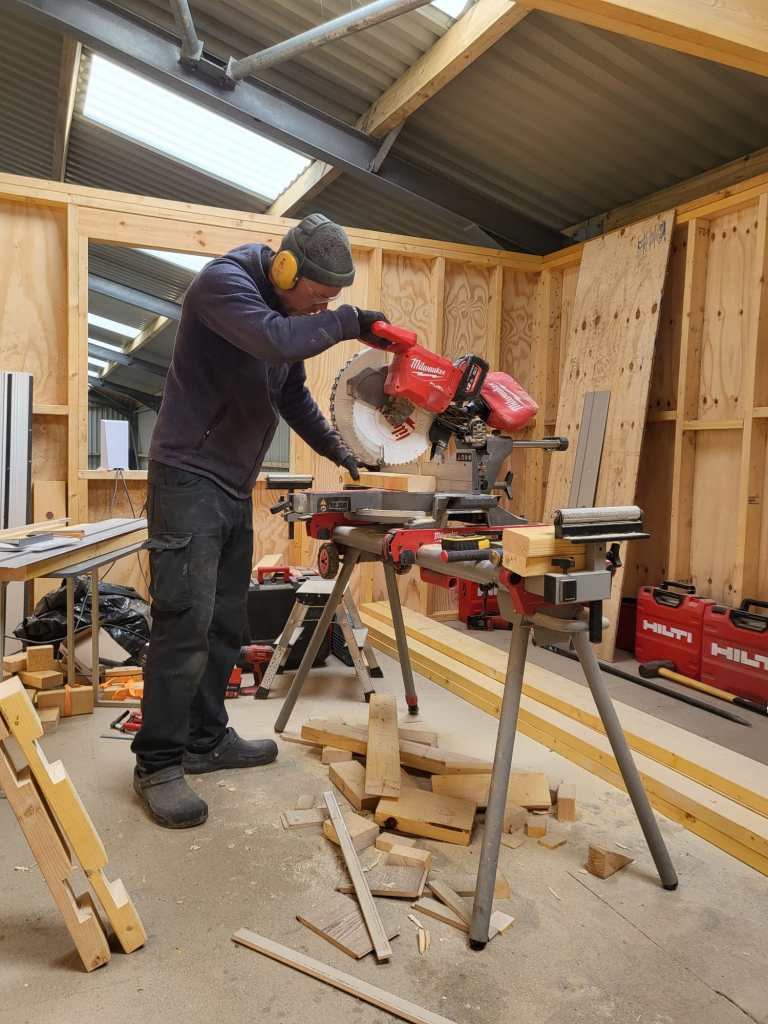
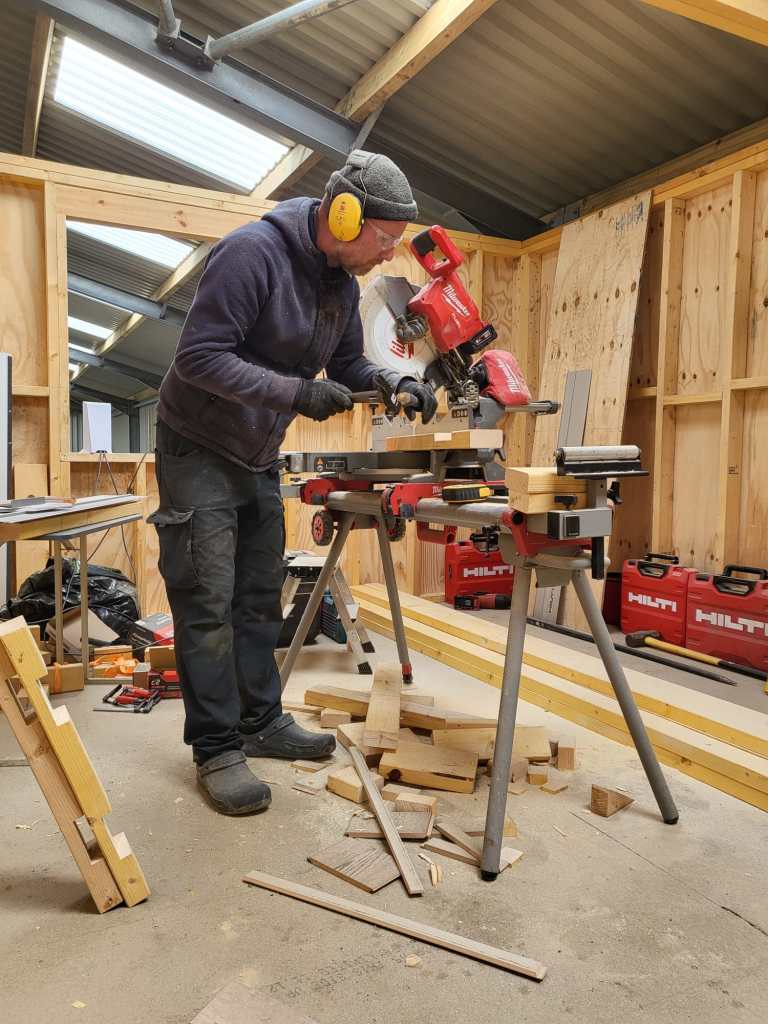
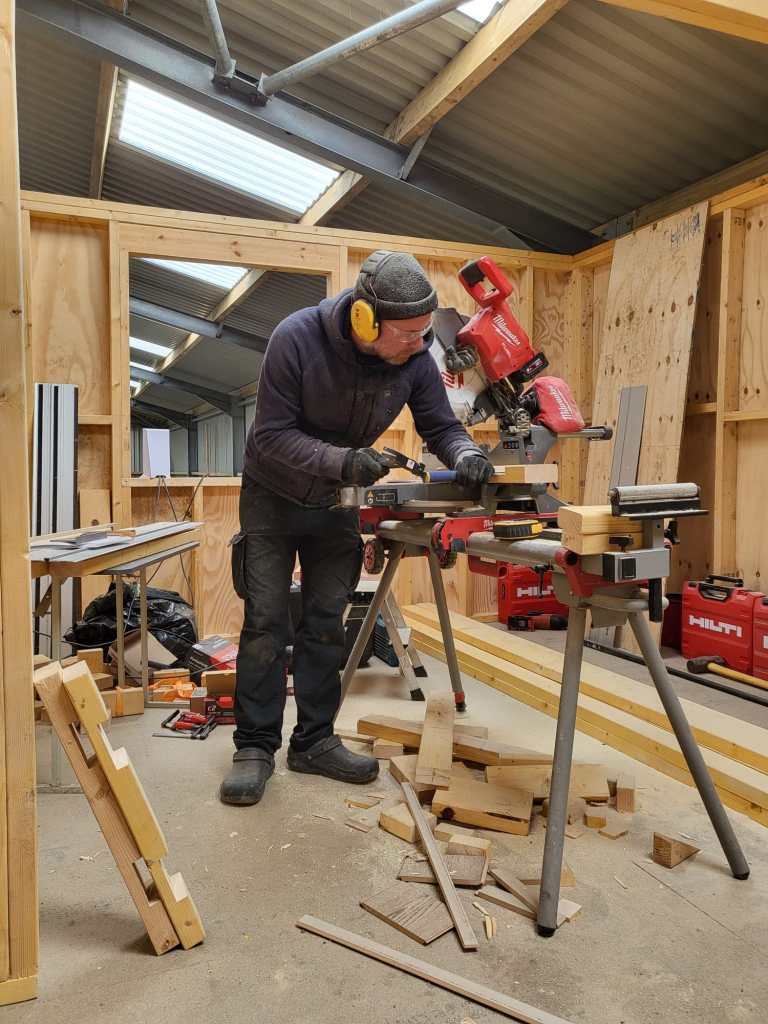
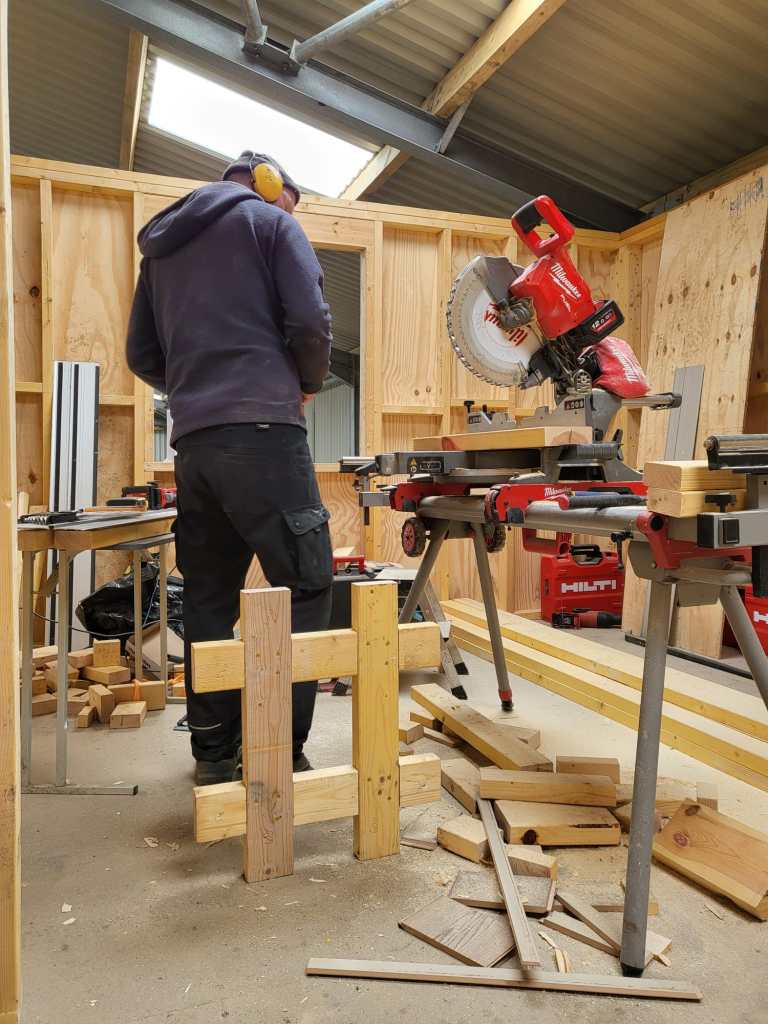
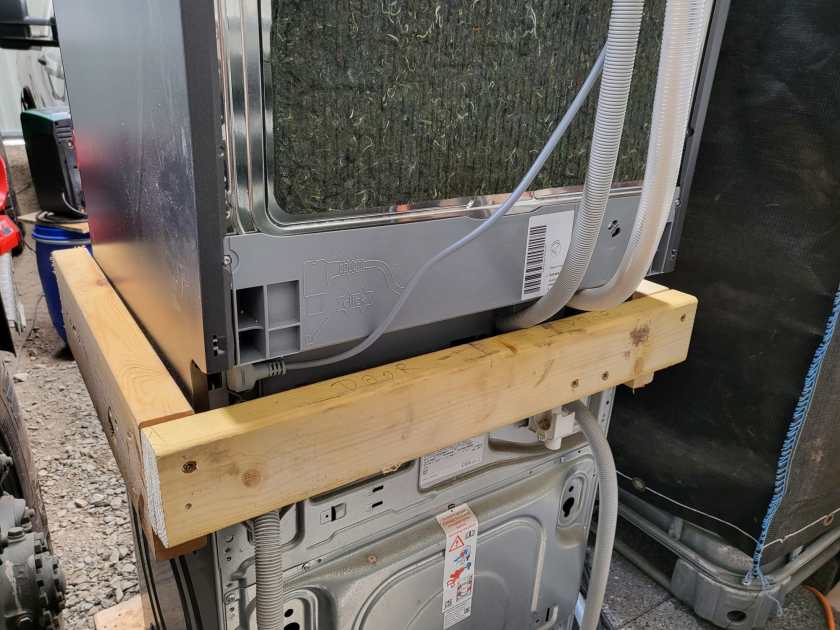
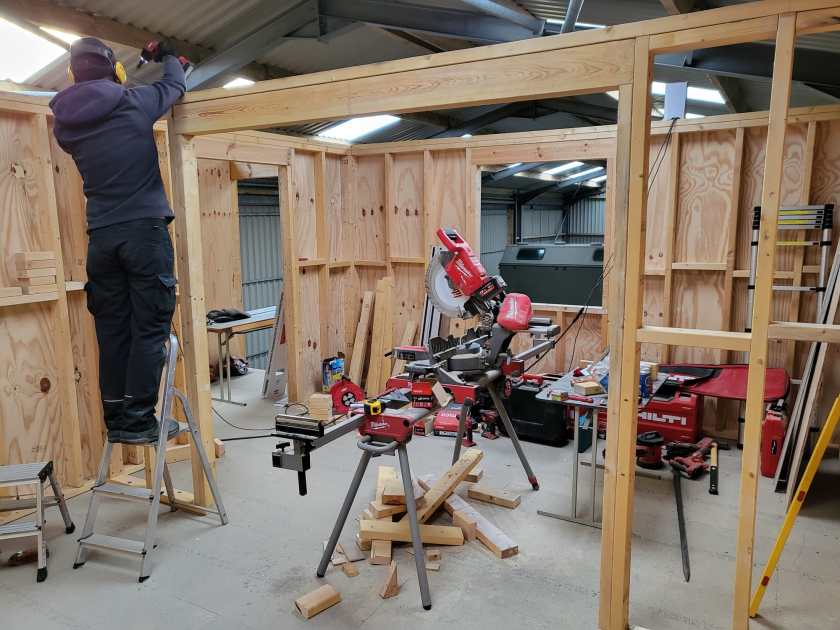
So, first I cut the intersections of the 4x2s and used chop saw and chisel to get the cross sections.
Later on, we added 6x2s so the dishwasher would not fall off. And at the end, not visible on the images, we added a strap around both devices to stop the dishwasher from bouncing off – just in case …
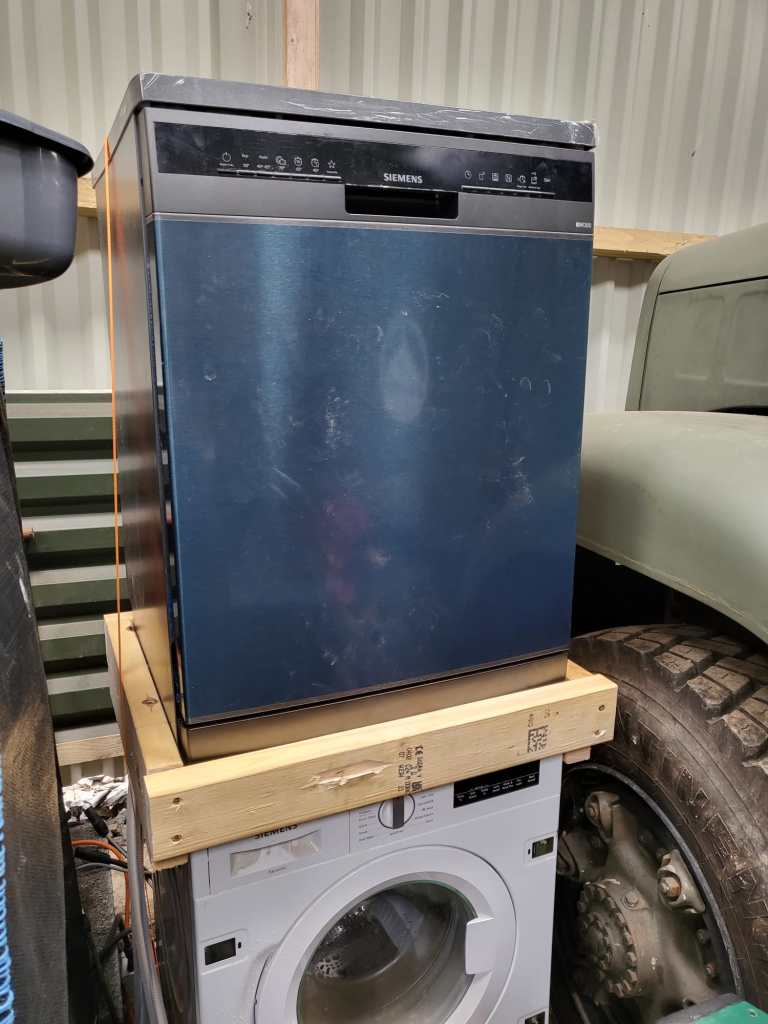
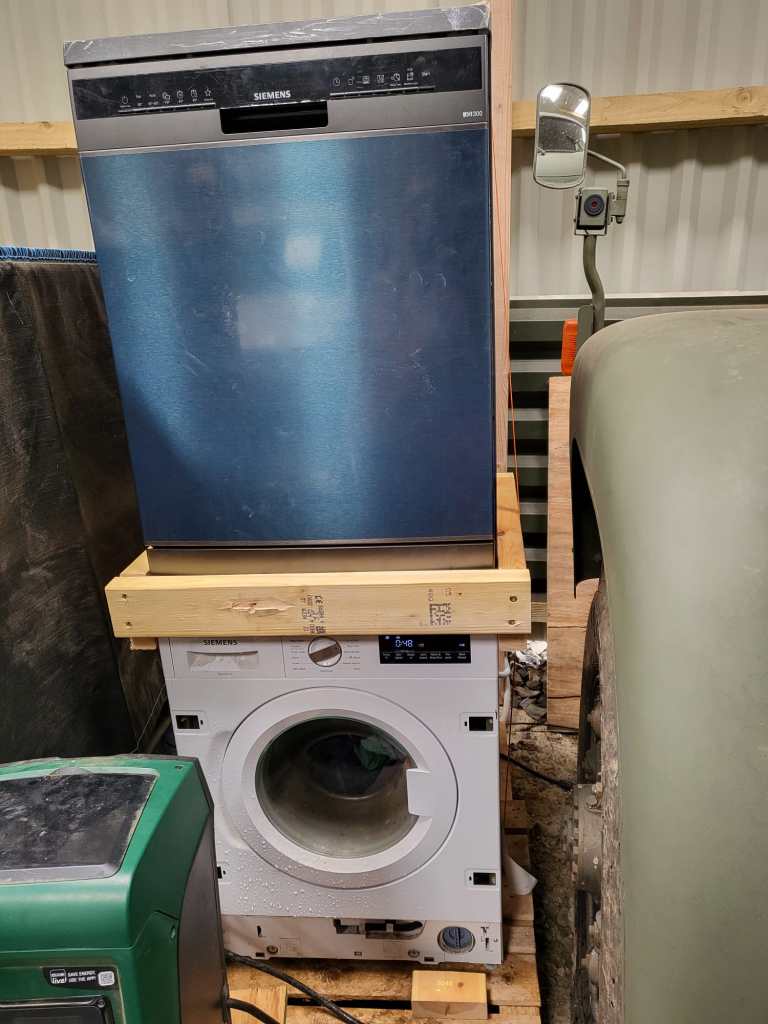
Now we have a washing tower – until we move it into our new kitchen. And this is all I can tell. See for yourself.
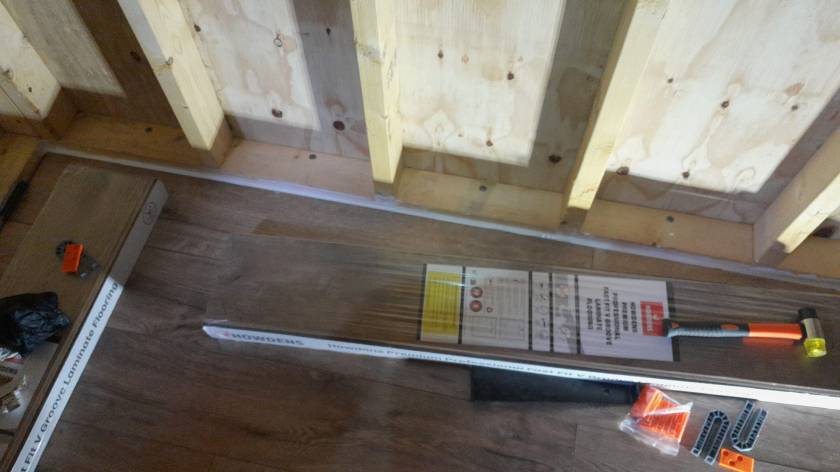
Cutting the Frame for the Washing Tower
Washing machine in action with finished Frame and Dishwasher on top
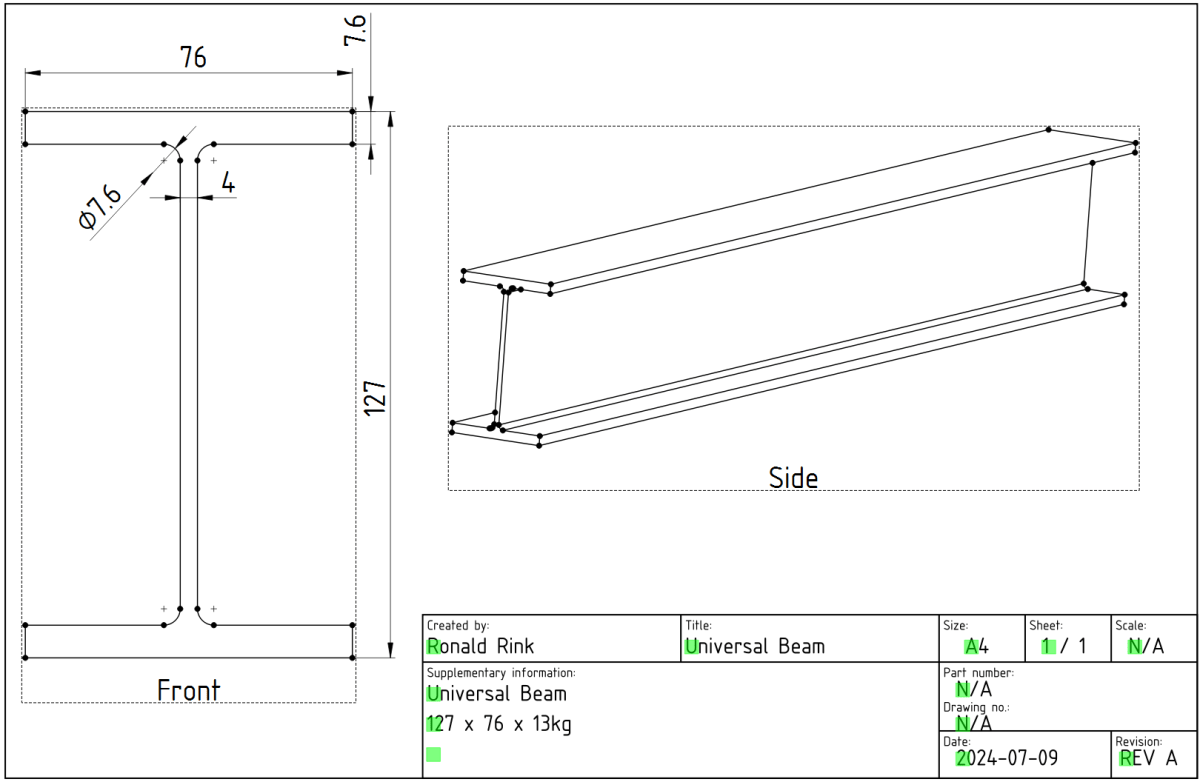
While designing our future heavy-duty pallet shelf, I had to try with different Universal Beams (UB, BS EN 10025-2). And though, there are plenty of templates to reuse I _had_ to create a universal beam myself.
The main reason was and is, I wanted to be able to quickly change the dimensions of the UB in a single place and reuse it with other parts and bodies I created.
However, it took me three attempts to create a stable model, that would survive any resizing… and here is what I learnt:
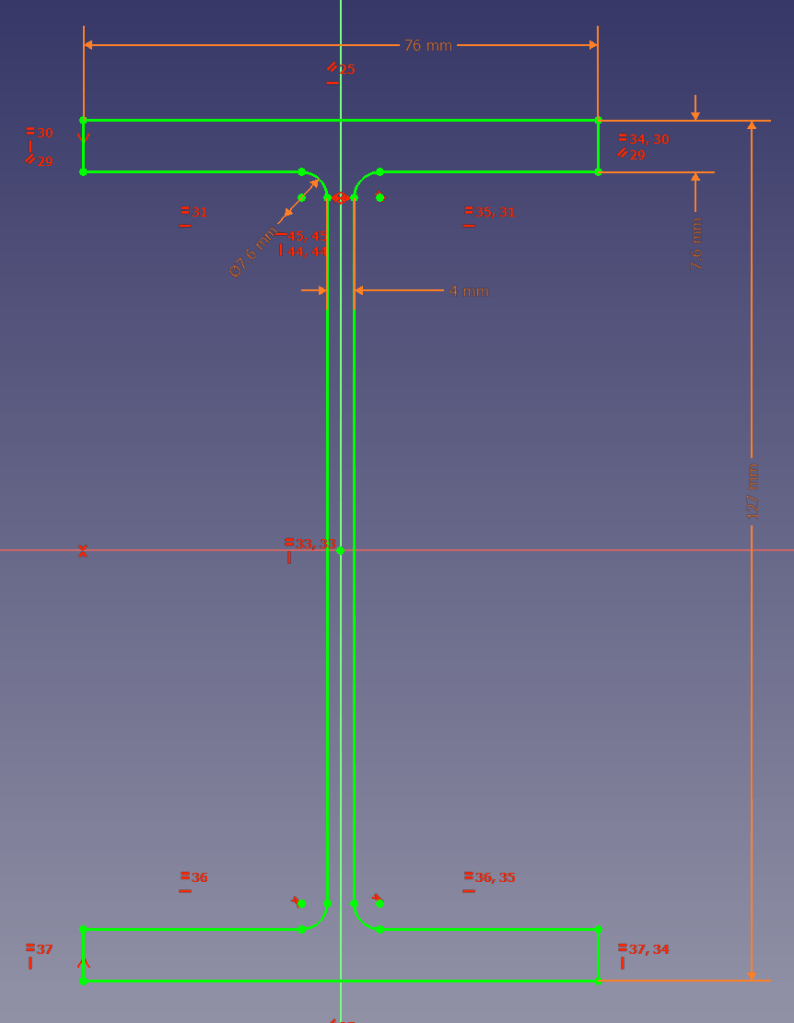
I started the sketch with three rectangles, which I – after attaching and trimming them – constrained with the overall beam parameters. The arc/radius was the tricky part. I either ended up overconstrained or un-stable where edges would flip. So, I removed (nearly) all constraints like symmetric, parallel, horizontal, equal (except for the overall dimensions), added the arcs, coincided the points with the neighbouring edges and manually coincided the points of the remaing edges. Only then I re-created the required symmetric, parallel, horizontal and equal constraints.
Sketch with parametric constraints taken from spreadsheet
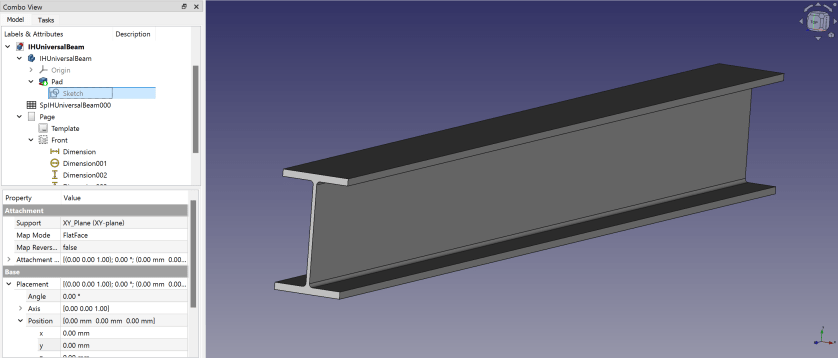
Here is a 3D view of the resulting beam:
Isometric view of the Universal Beam
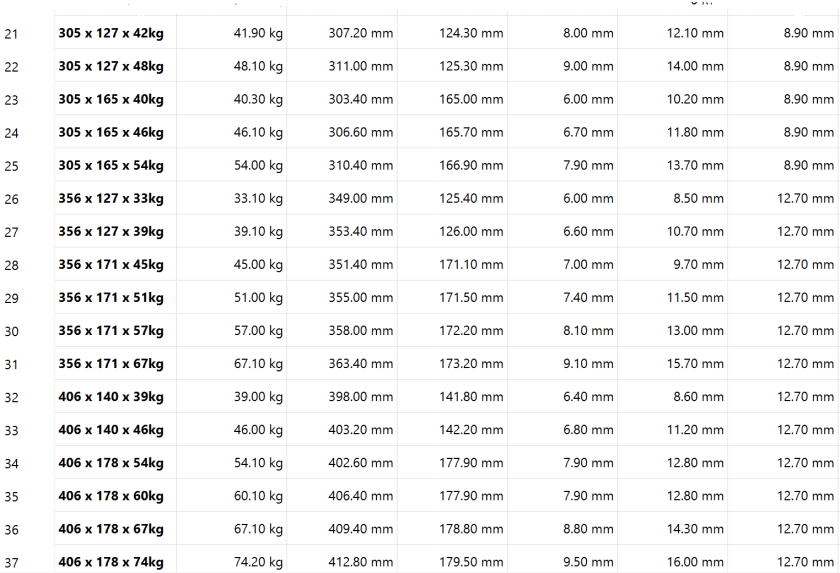
I then added another 30+ UB dimensions to the spreadsheet so I could use them in the beams constraints via expressions. If I now copy any of the existing value of lines 5 following to line 3 into the yellow cells the beam is automatically resized.
So, this is the beam and how to use it. In case you are interested, you can download it at grabcad.com:
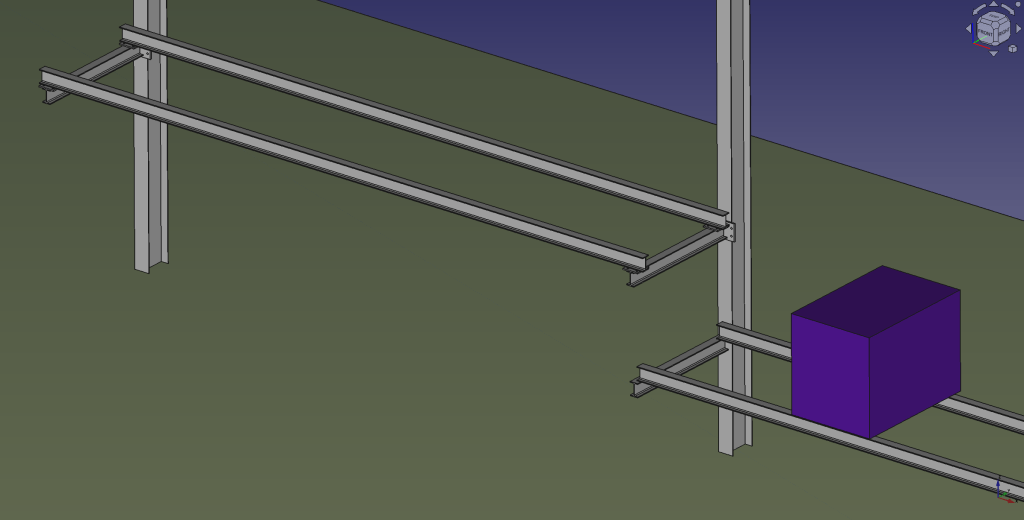
And here is a sneak preview of how the final shelf could look like:
Draft of shelf mounted to Universal Column in our barn
I again, still and always find it ranging from very difficult to frustrating to work with FreeCAD to create stable models – especially when they are parametric. But hey, this is FreeCAD as in free software.
What a day! We got a call from Rembrand asking if they could deliver the PIR boards we ordered a day earlier. Sure they can! We quickly made space and waited fo the truck to deliver.
In my calculation the complete pile of boards would sum up to roughly 8m. Quite a load – especially with today’s wind! The truck actually did a tour just for us …
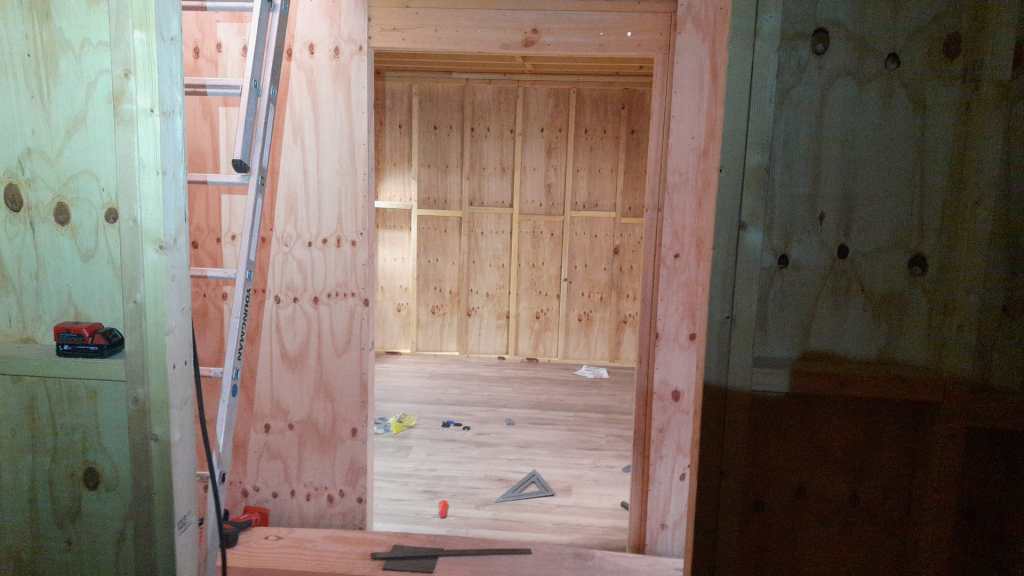
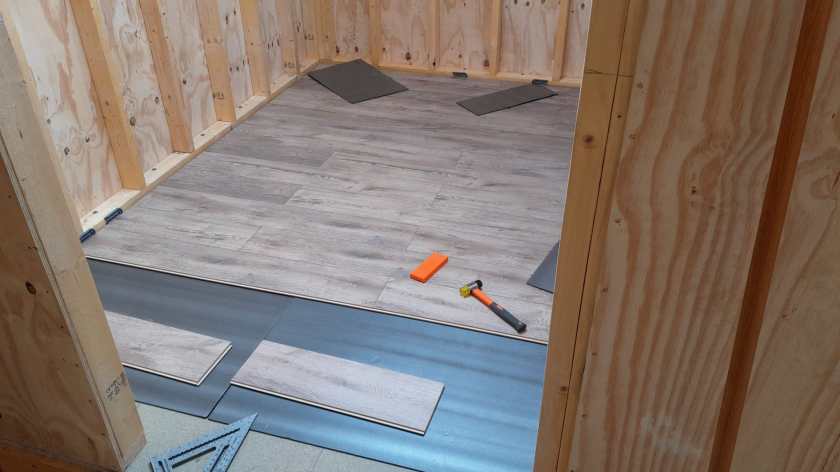
Luckily, we designed the hallway of our tiny-house-in-barn with a 1450mm width and all doors 1080mm wide. Enough space to store some of the boards in one of our just ready-laminated rooms on the first floor. No problem lifting it with the TeleHandler!
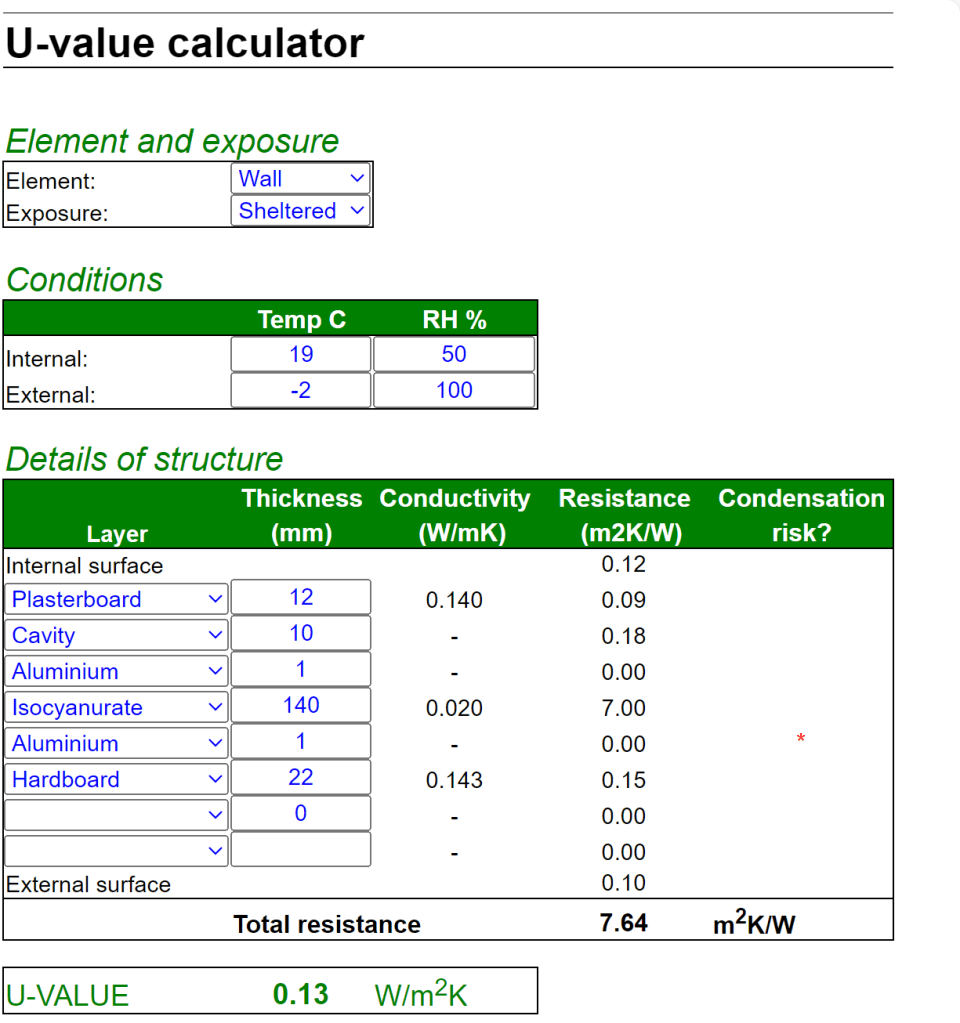
When we ordered from Rembrand the actual manufacturer was not specified. But upon delivery we could see the brand – IKO. According to their web site the thermal conductivity lambda for the material is 0.022 W/mK. For the walls this gives us a U-value of 0.18 W/m2K. Just what the building code asks for …
For the floor things look even better – with thicker boards the calculated U-value fits the requirement of the code as well: 0.13W/m2K. And this does not include our laminate floor and the insulation layer under it.
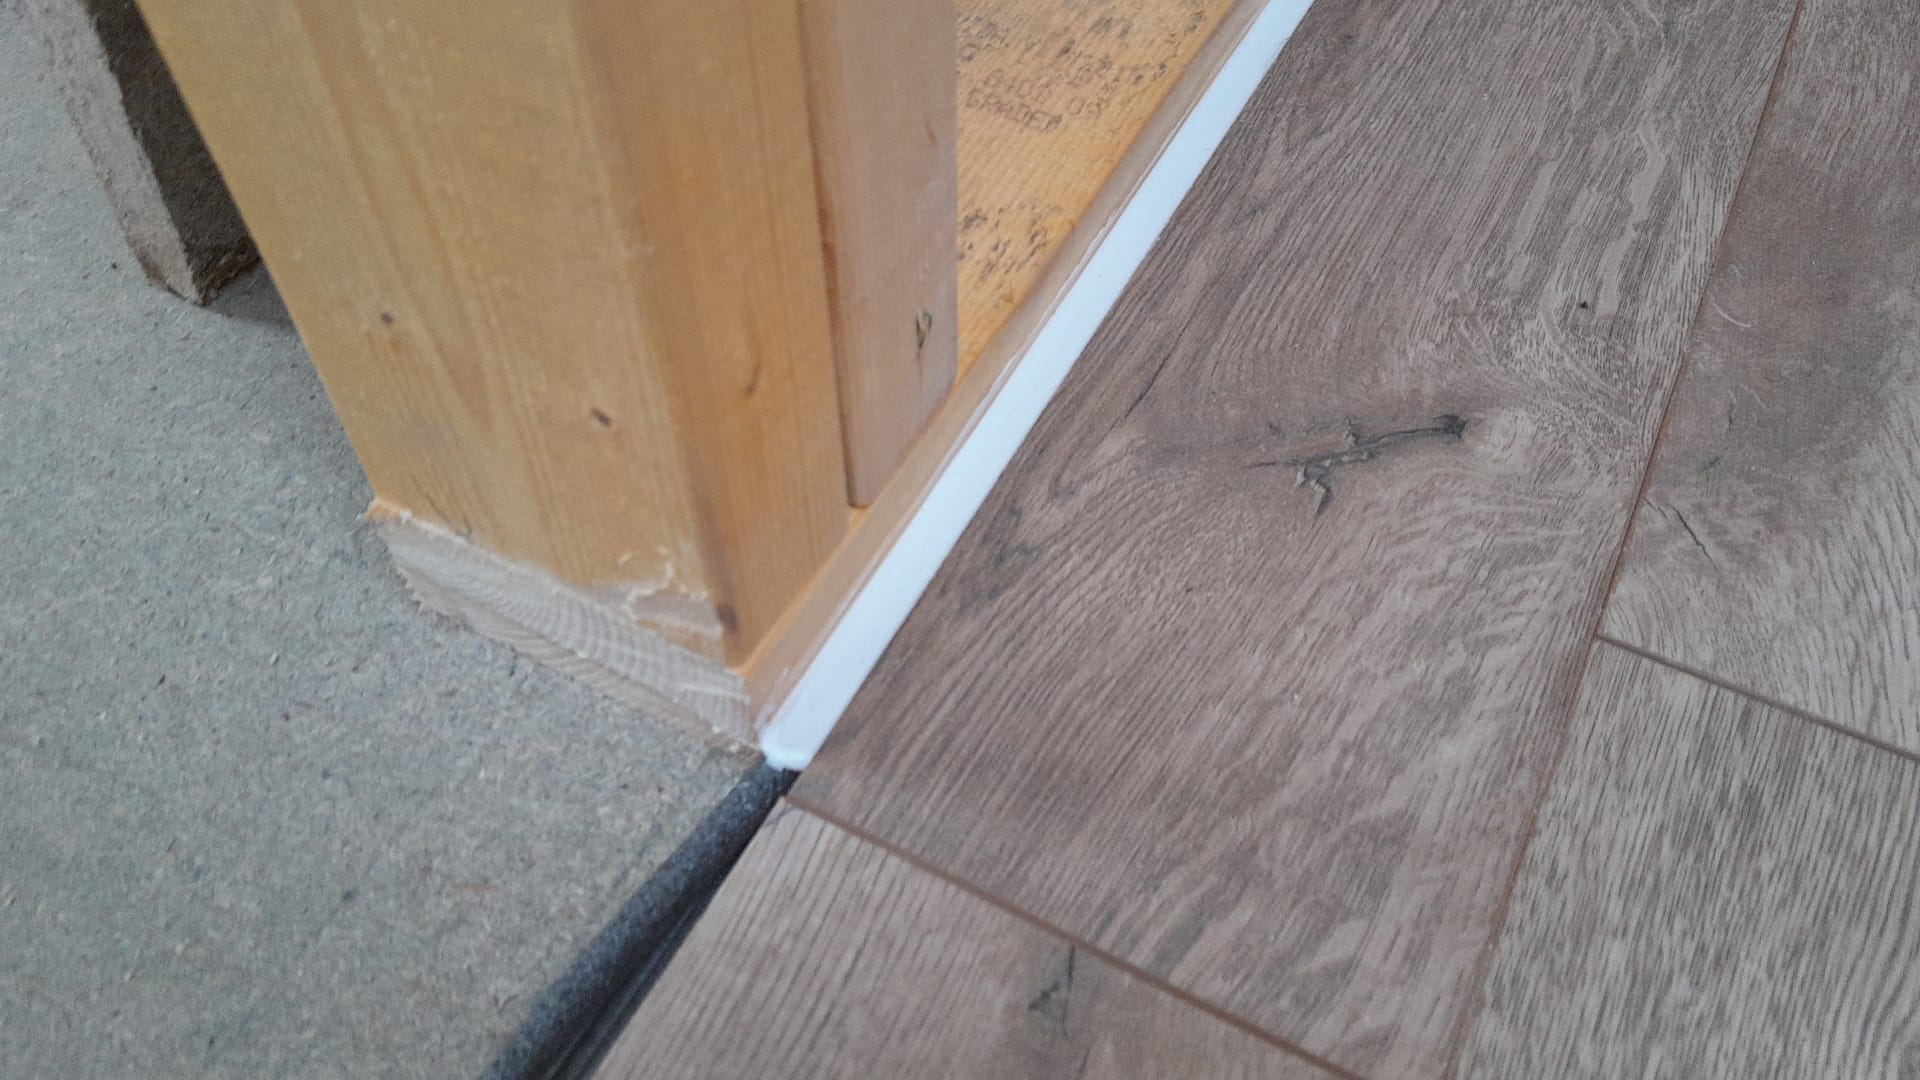
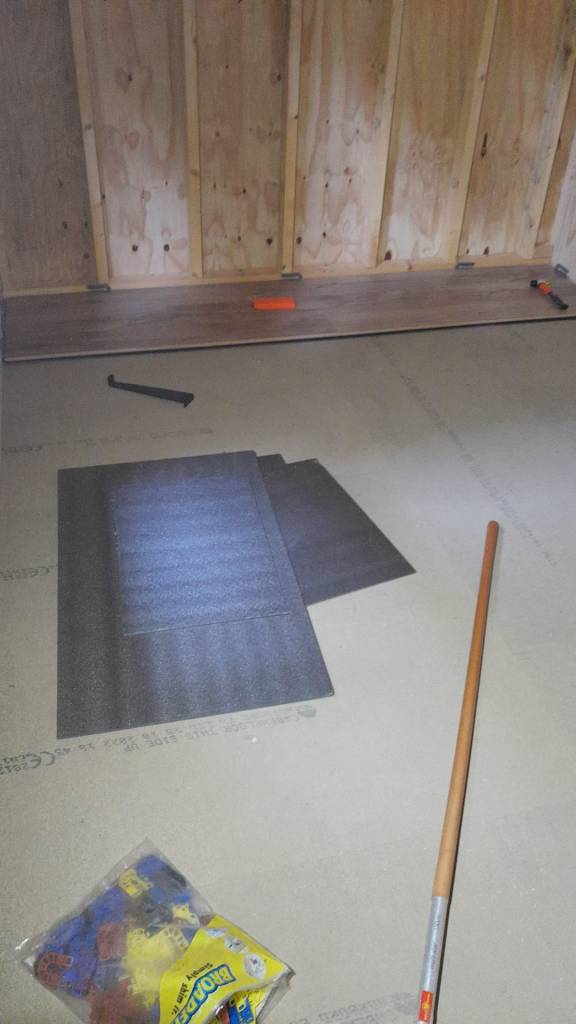
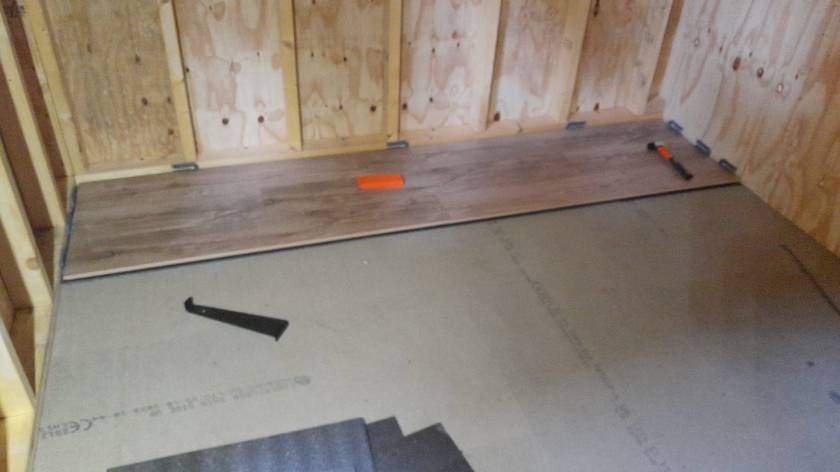
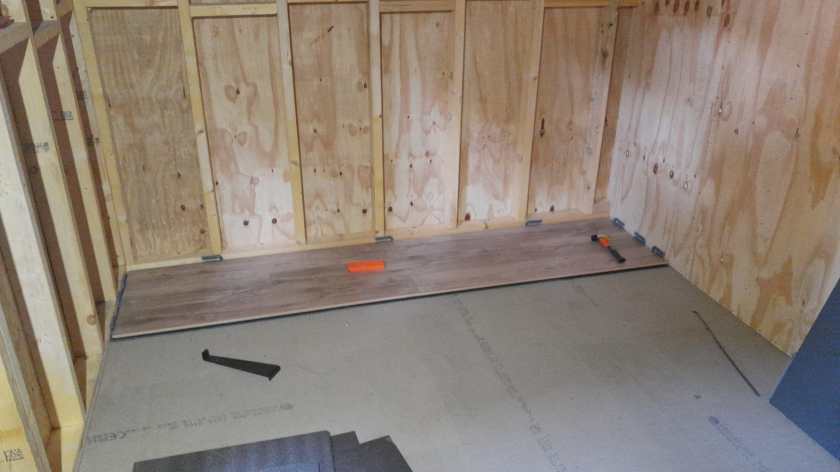
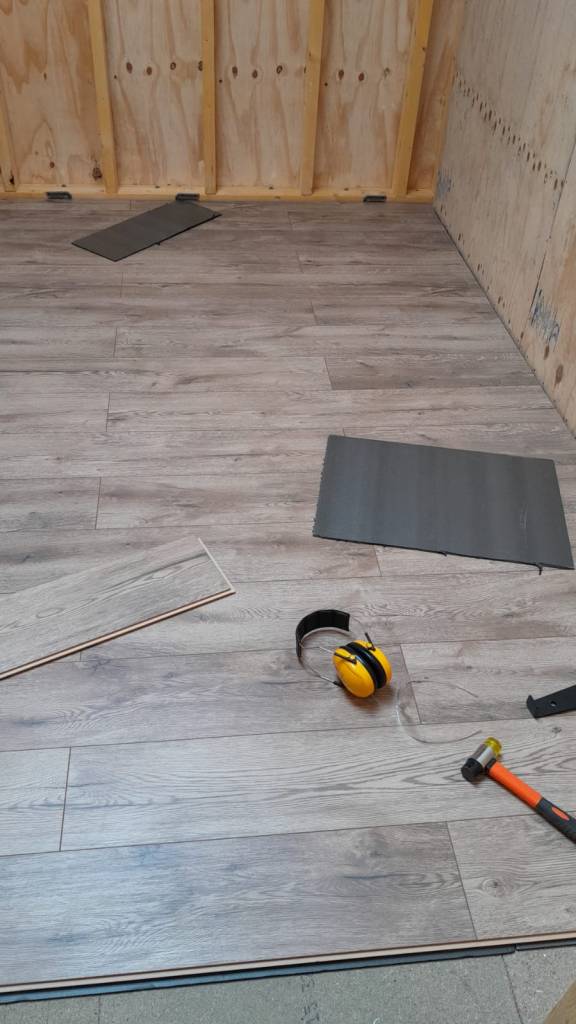
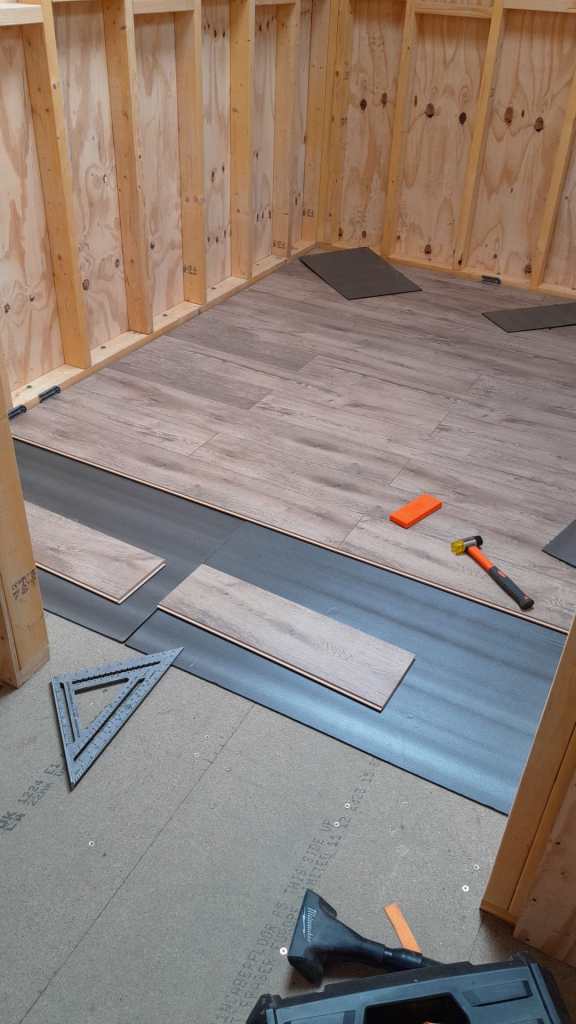
Here is a quick overview of the current state of our laminate flooring: By now, we completed the kitchen, the bathroom, the bed room and the study.
Still to do: utility room, storage room, living room and two hallways. So, not quite there yet.
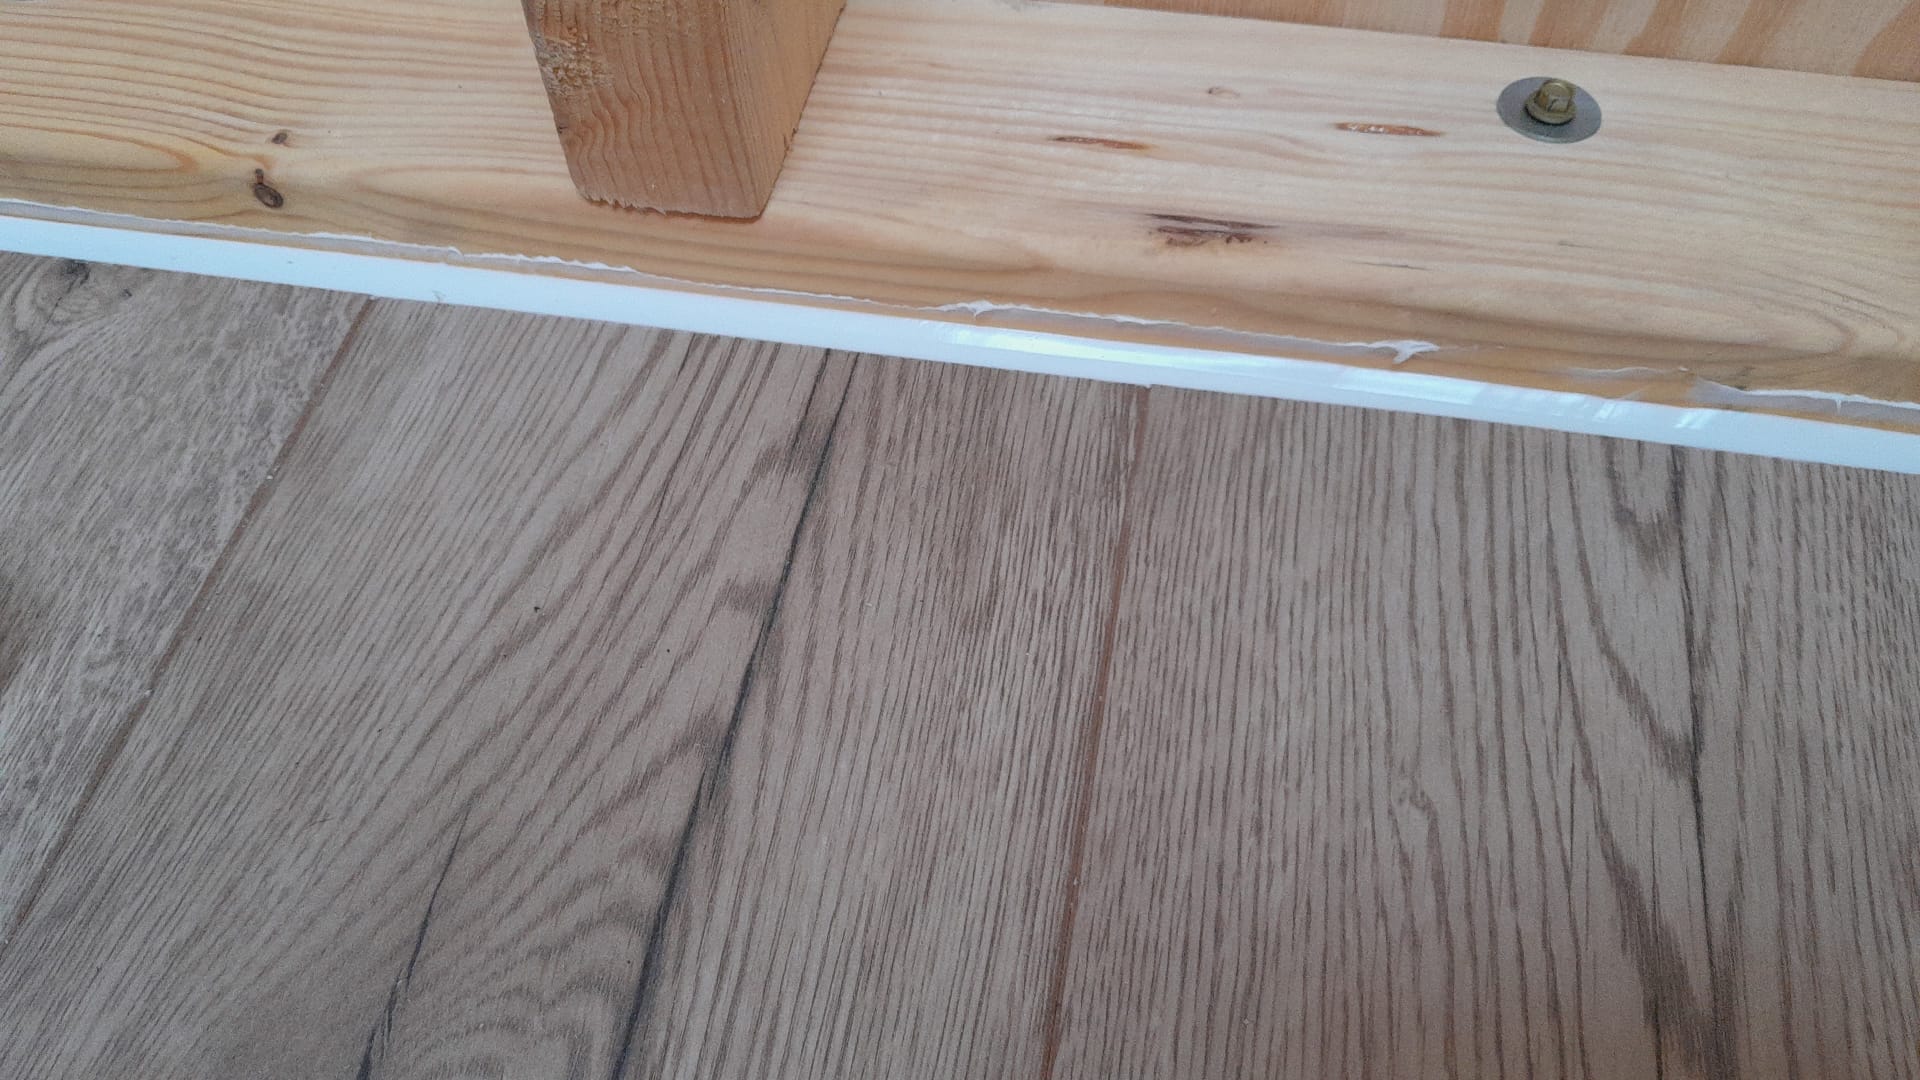
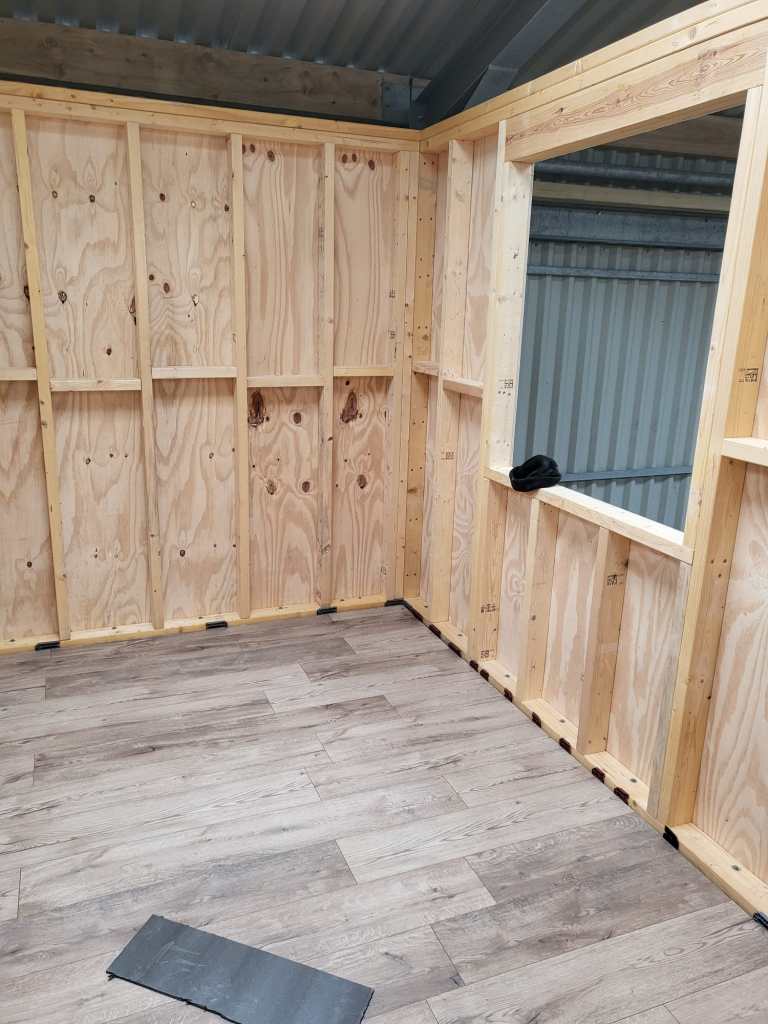
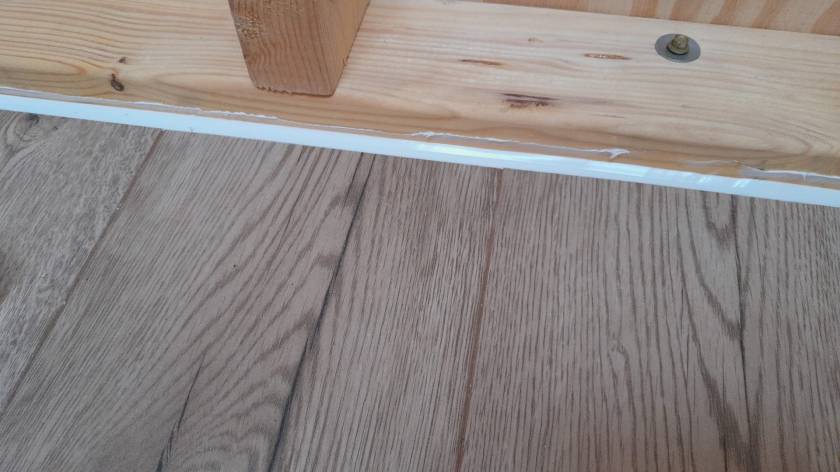
Our initial silicone tests showed we would use way too much silicone (around 6* 310ml per small room) to fill the required 12mm gap between the laminate and the wall. So, we went for a 10mm foam backing rod and put the silicone on top – with the help of a Hilti Dispenser and Fugenfux. We got the silicone from Screwfix: Sanitary Silicone White 310ml 12 Pack. And the result looks like this:
Still improving the corners …Laminate with silicone without skirtingSilicone with backing rod
We definitely moved beyond Maslow’s pyramid and introduced a dishwasher to our ever growing list of utilities – which by the way fits nicely next to our Saurer 2DM … It is a Siemens iQ300 SN23EC03ME which is also driven by our DAB Esybox Mini 3.
What we found out so far:
Water consumption is much higher than advertised even when using the 45°C/45min programme.
Power consumption seems slightly higher than advertised as well with a peak consumption of around 2200W.
But all in all, we still save time, water *and* power compared to washing up by hand. And this holds true even for much less energy efficient dishwashers with an energy star rating of D or worse.
So, next time I buy a dishwasher I think twice if I spend a 100 quid extra on a more power efficient device – especially, when using solar for most of the year …
Dishwsher Siemens iQ300 SN23EC03ME on top of a washing machine driven by a DAB Esybox Mini 3
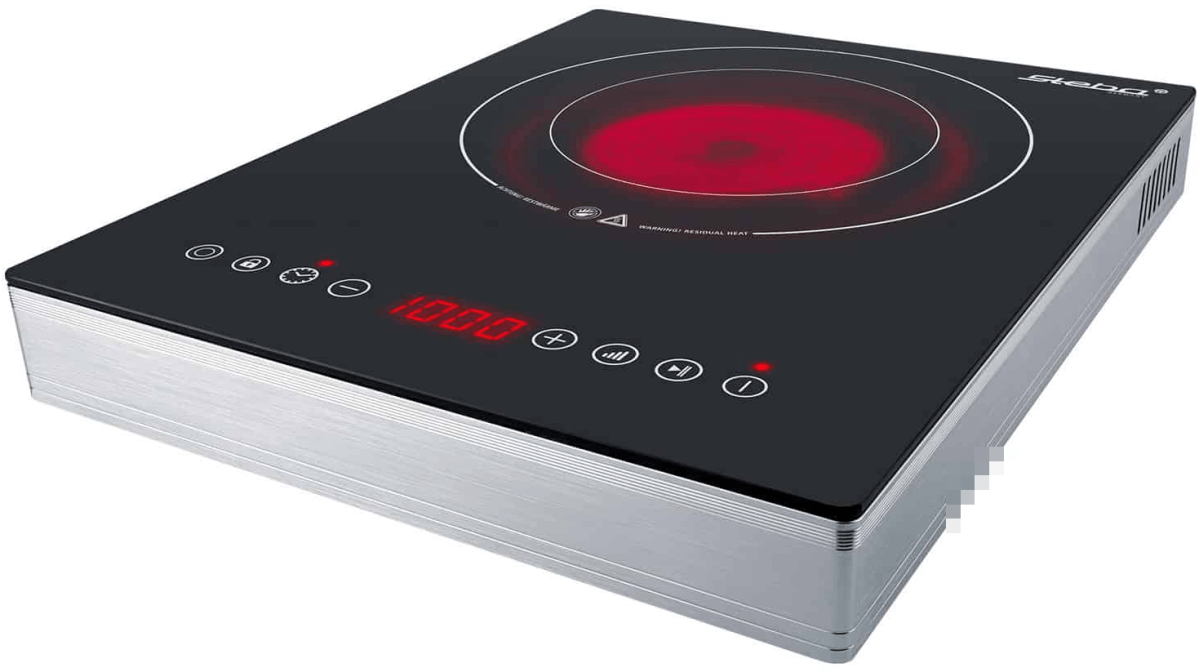
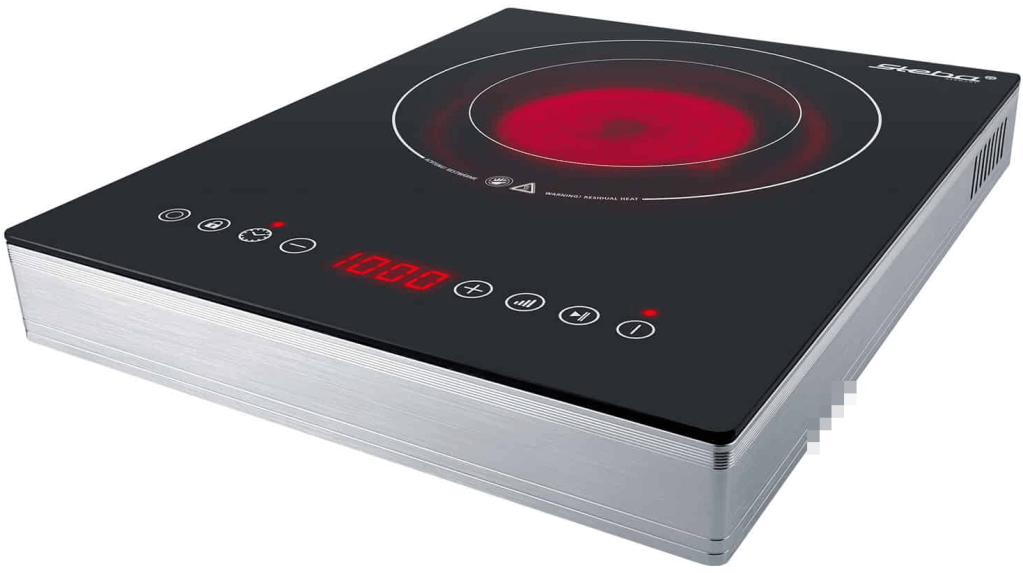
In order to cook in our Toyota Hilux and Toyota Hiace we use a glass ceramic hob Steba HK 30 that – according to the manufacturer – allows for precise adjustment of the power consumption from a company called Steba. However, in reality these ratings seem to be different. In this article, I give an overview of the energy ratings I measured.
Observed Power Consumption
The hob has 2 rings with a nominal rating of
Ring 1 100w, 400W, 600W, 700W, 800W, 900W, 1’000W
Ring 2 200W, 800W, 1’200W, 1’400W, 1’600W, 1’800W, 2’000W
In the table below you see the actual values I measured in comparison to the nominal values as shown on the hob. For our Victron MultiPlus Compact 24/1600/40-16 the highest setting is on Ring 2 with 1600W nominal.
Ring
Wnominal
Waverage
Wmin
Wmax
0
0
0
0.4
4.1
1
100
200
225
254
2
200
450
417
459
1
400
400
375
409
1
600
475
450
477
1
700
600
580
602
1
800
700
708
731
2
800
750
699
770
1
900
860
850
863
1
1’000
930
932
934
2
1’200
900
863
901
2
1’400
1’150
1’108
1’148
2
1’600
1’400
1’368
1’396
2
1’800
1’650
1’645
1’659
2
2’000
1’800
1’787
1’795
Energy ratings of Steba HK 30
Other Observations
There are a couple of (negative) things that I noticed when using this hob:
When using the outer Ring 2 (or the full hob) the lowest level you can choose is 200W or then already 800W which turns out to be too much when trying to cook for a longer period of time. In my case, I use a large cast iron pot and let it cook for 4h to 5h. With 200W it was too little and with 800W it effectively started burning its contents at the bottom.
After 2h – 3h of constant use the hob once switched off after the pot boild over and spilled sauce on the hob. But I do not know if this was just a coincidence. After turning it back on it worked without interruption for another 2h – 3h.
The hob pulses when heating, i.e. turning the heating rings on an off very quickly. This seemed to stress the inverter when it was connected to mains (which was another inverter on batteries). For whatever reason it quite often drew power from the battery instead from mains.
After use the hob keeps a ventilator running for approximately 15min. It is rather on the loud side but not necessarily disturbing. Power draw during the cool down phase is 4W. When cooking something on the move one has to take that duration into consideration before switching it off.
The device is relatively bulky for that it is meant for only a single pot.
Summary
Most of the devices are not perfect (as described in the observations above). But all in all I really like the hob and we use it quite often. It is easy to clean and usable over several hours of constant use. Bon appetit.
Pulled Pork cooked on the Steba HK 30 with a Victron MultiPlus ( 1 )Pulled Pork cooked on the Steba HK 30 with a Victron MultiPlus ( 2 )Steba HK 30, taken from https://steba.com/produkte/glaskeramik-kochfeld-hk-30